Professionally, a big part of my job for 22 years has revolved around process. Operational and business process to be precise. GeekNights only continues to exist because we have good processes for making it.
One of those processes is how I get our panels and lectures online. I’ve been making them since 2011 when I uploaded our first video lecture. I’m currently making one right now.
I’ve often say that one must be descriptive, rather than prescriptive in a broad sense. So I’m going to describe the current process I use. I hope you find it helpful.
What is this process like?
It is well-suited to quickly publishing a high-fidelity video of a lecture or panel.
This is not the best process for making a video. It is just the process that I follow to do this today. It scales down to a single camera with no slides, and up to a professionally lit venue with ~5 or fewer cameras. It is tolerant of poor source video. It requires high quality well-recorded source audio. Its inefficiencies are all tradeoffs to simplify the intake process. I’m sure parts of this could be done better, and I’d welcome suggestions.
The goal of intake is to construct the Multicam Master sequence as quickly as possible. You then use the Multicam Master to create videos.
The Multicam Master Sequence
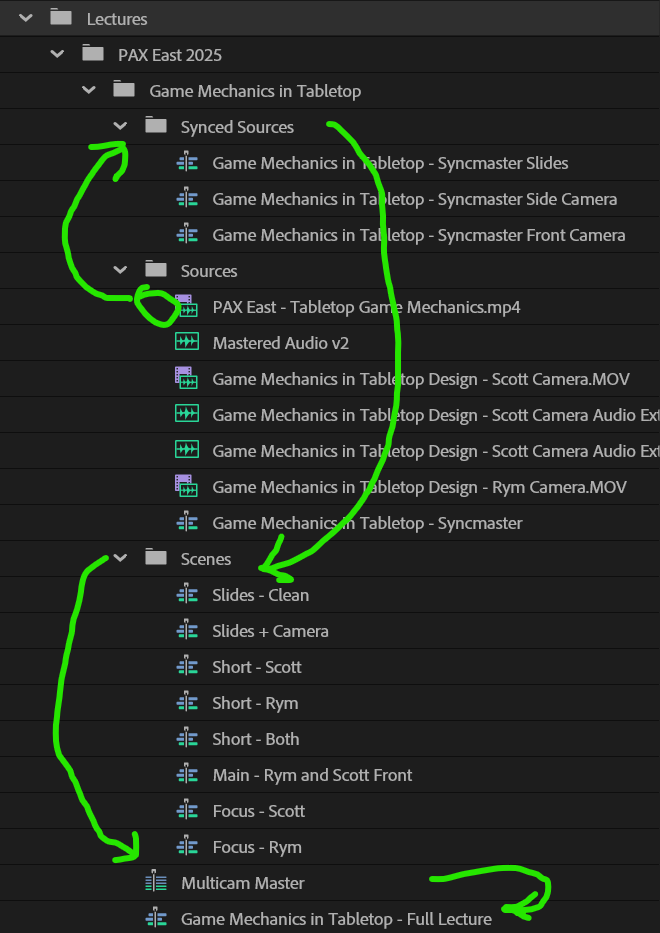
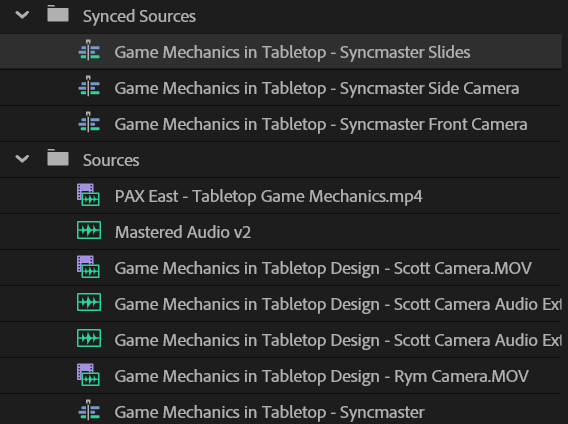
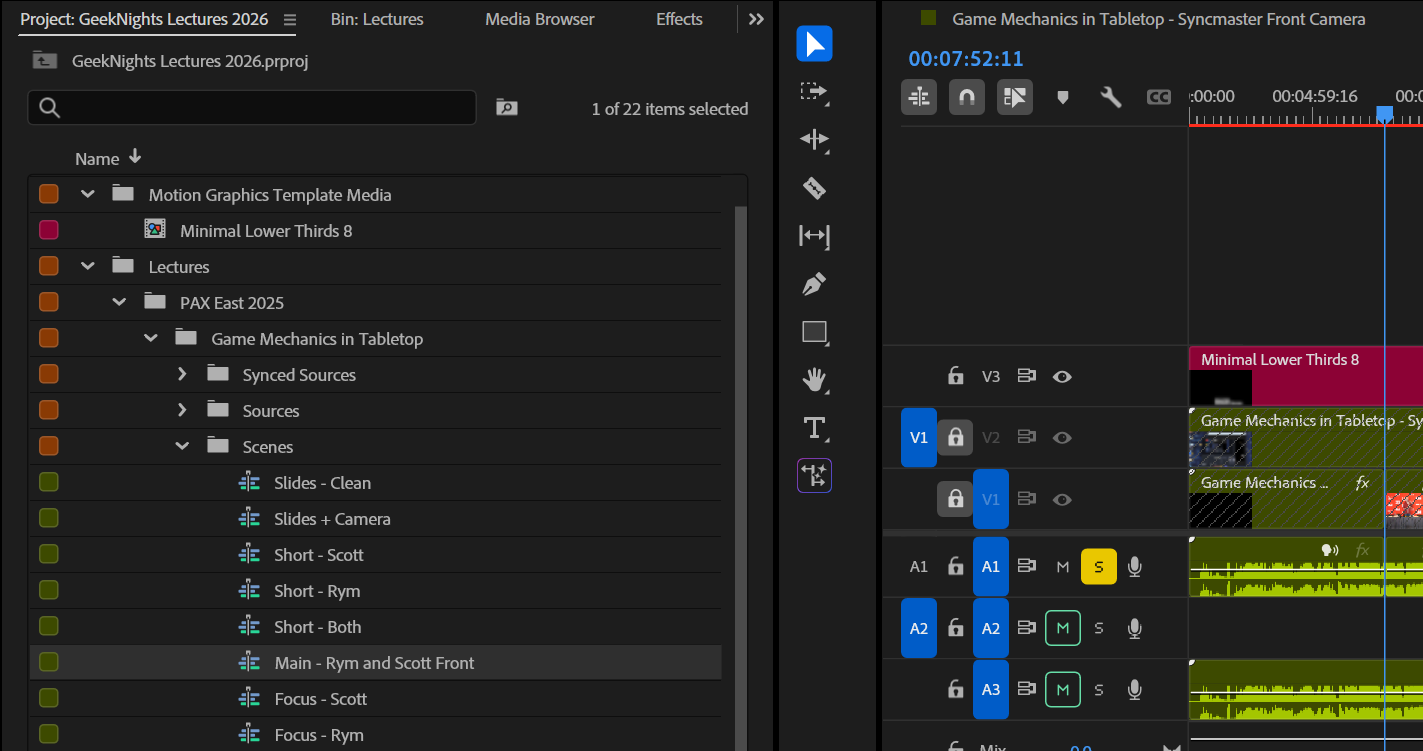
This is the base sequence from which to produce video. It is a collection of scenes, which are themselves a collection of synced sources. This is the camera room.
It doesn’t matter how you got here. Everything that’s going on under the hood of this sequence doesn’t matter. You have a collection of scenes to choose from and a very easy interface to use it. This is all you need.
How the scenes were constructed only matters if you have a problem. The “right way” to do color correction or framing or even file intake don’t matter. Do the “good enough” way. Build the Multicam Master that is good enough for the project as fast as possible.
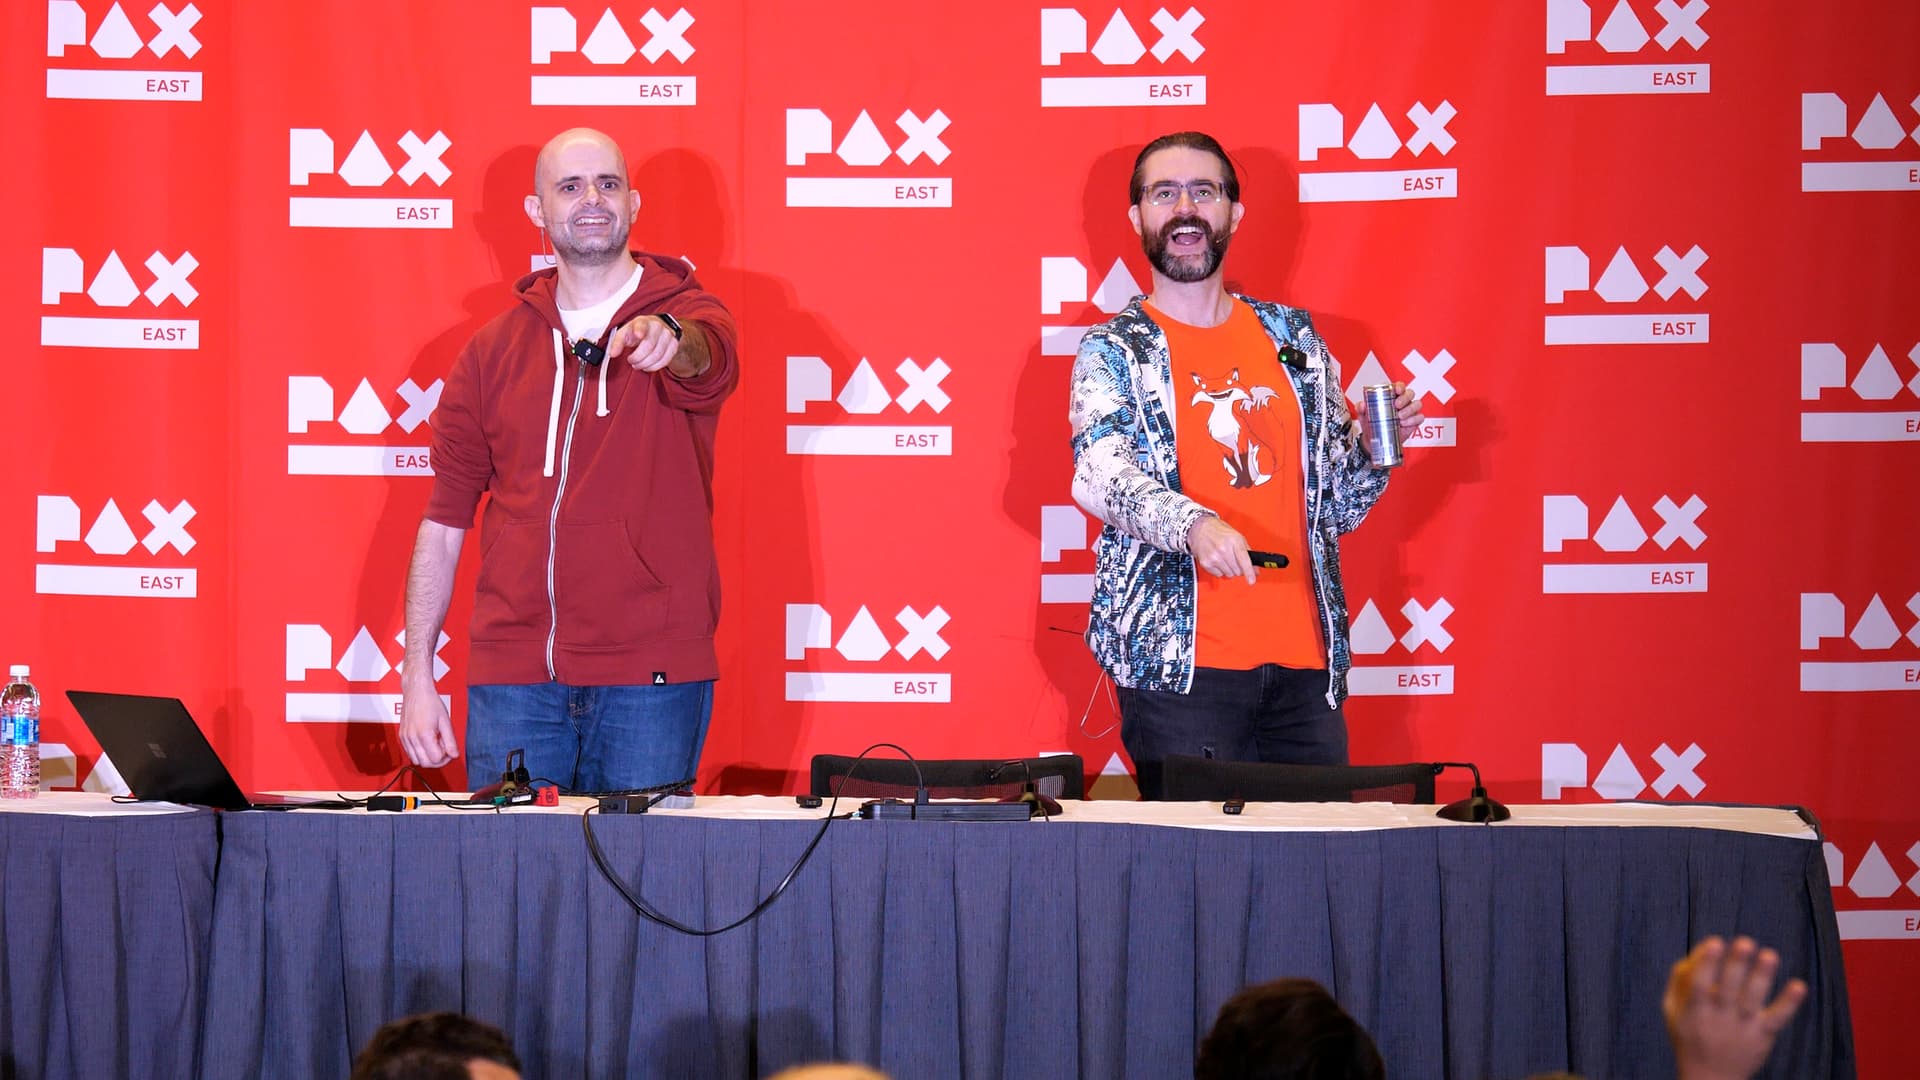
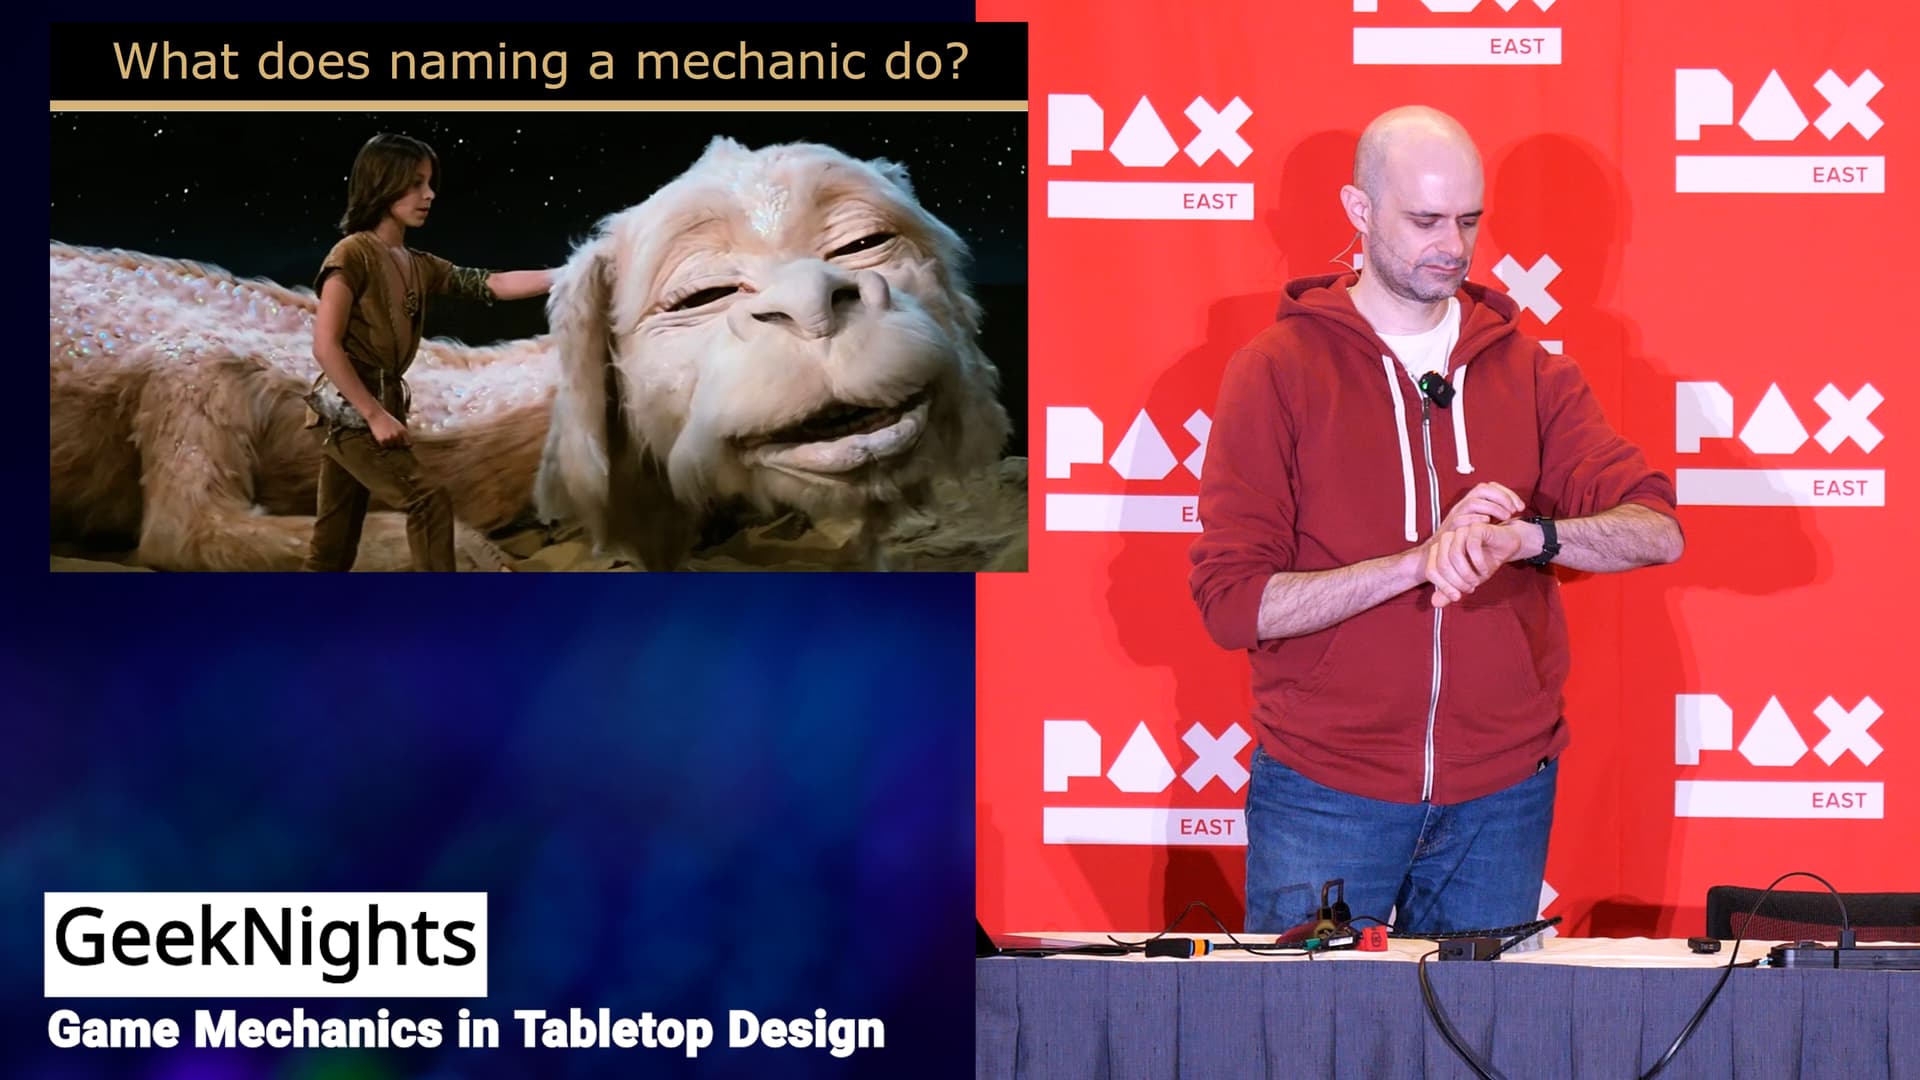
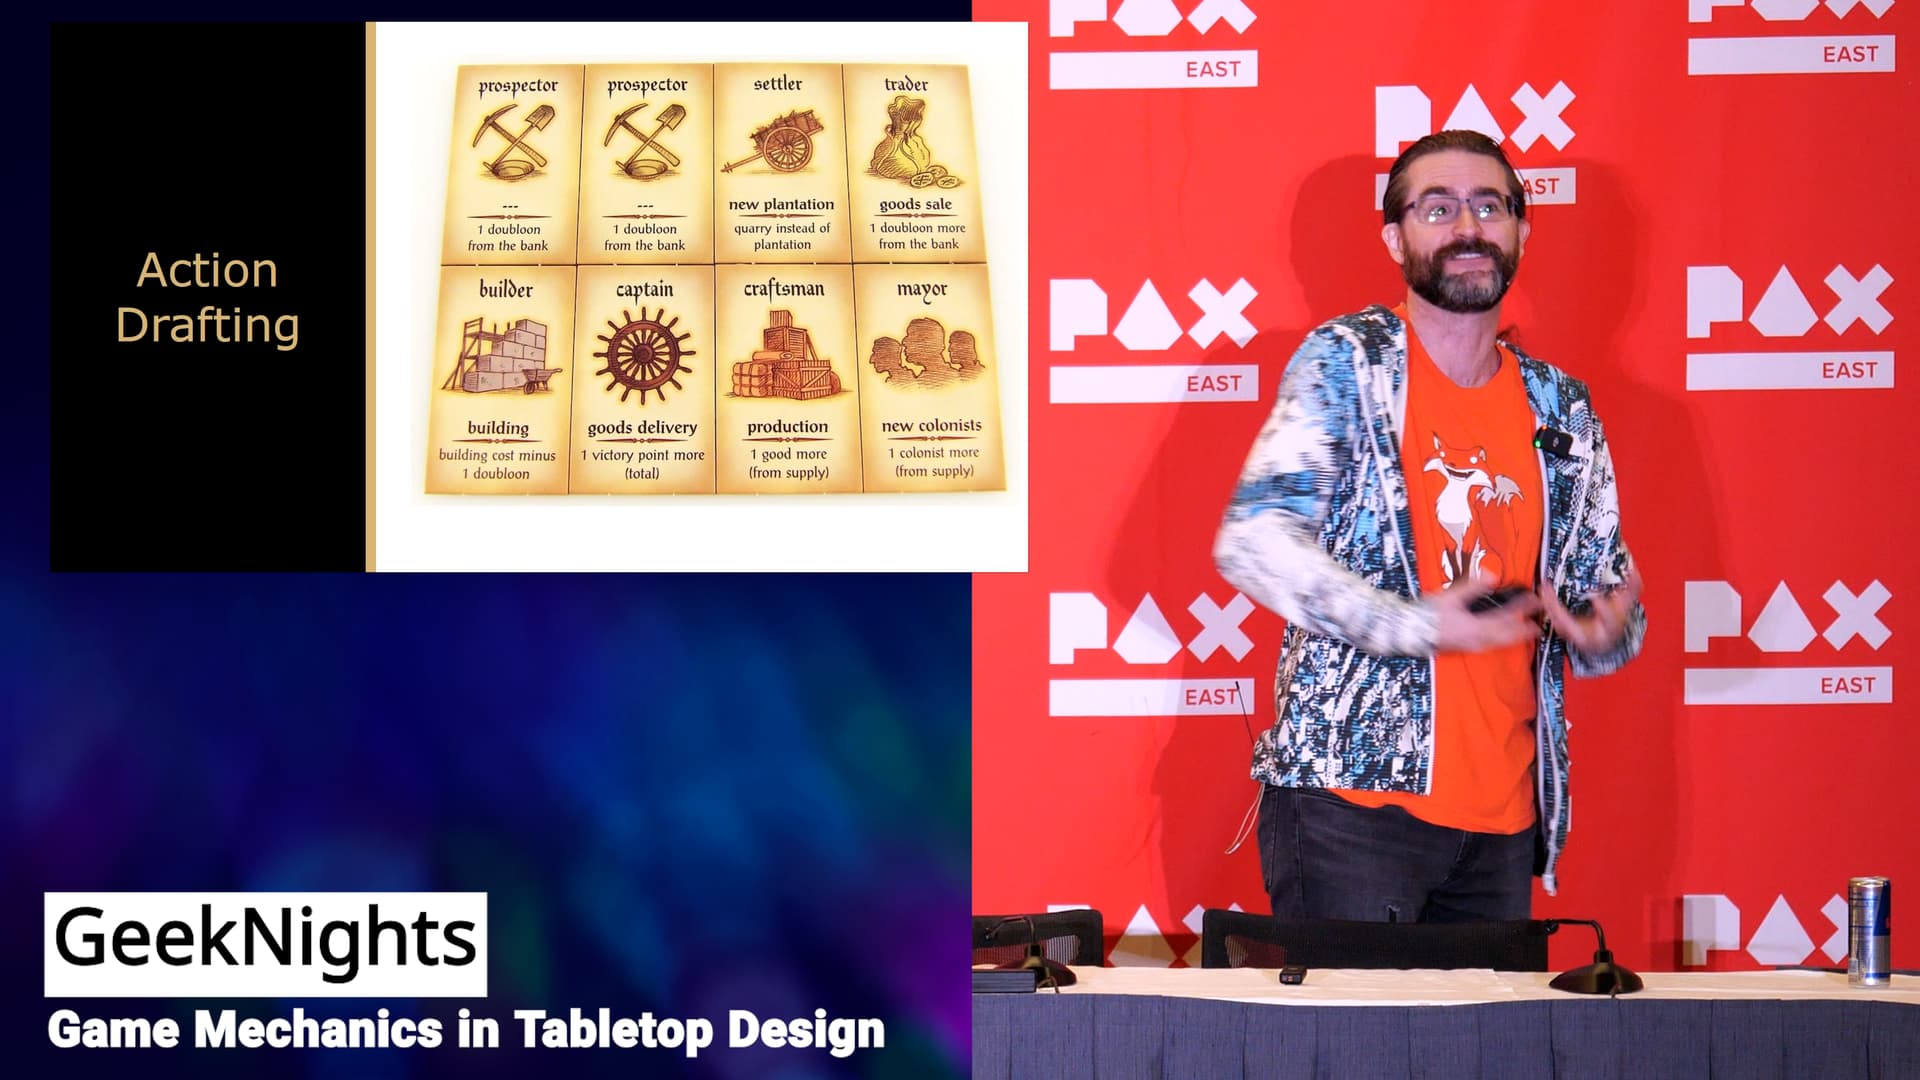
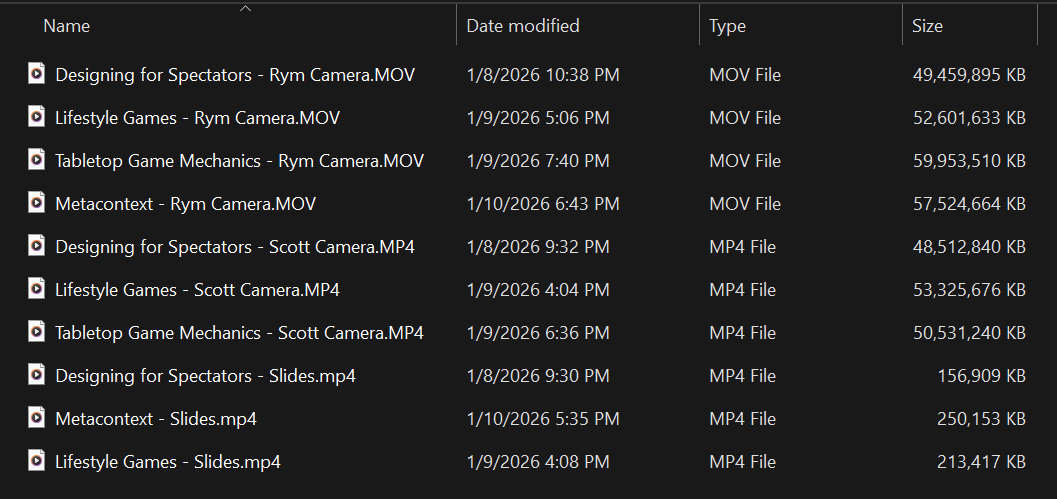
The process that follows is the way I am creating the Multicam Master for our PAX East 2025 lecture Game Mechanics in Tabletop Design. This is the blow-by-blow. If you know me, you may have a well-calibrated sense of exactly how lazy I am, and thus the relative effectiveness and merit of this process.
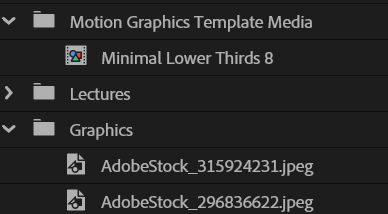
Each of these bins is a level of abstraction. We get each one “good enough” to move on to the next one. We’re going to construct sources out of files, and then scenes out of sources. Our Multicam Master is built of these scenes.
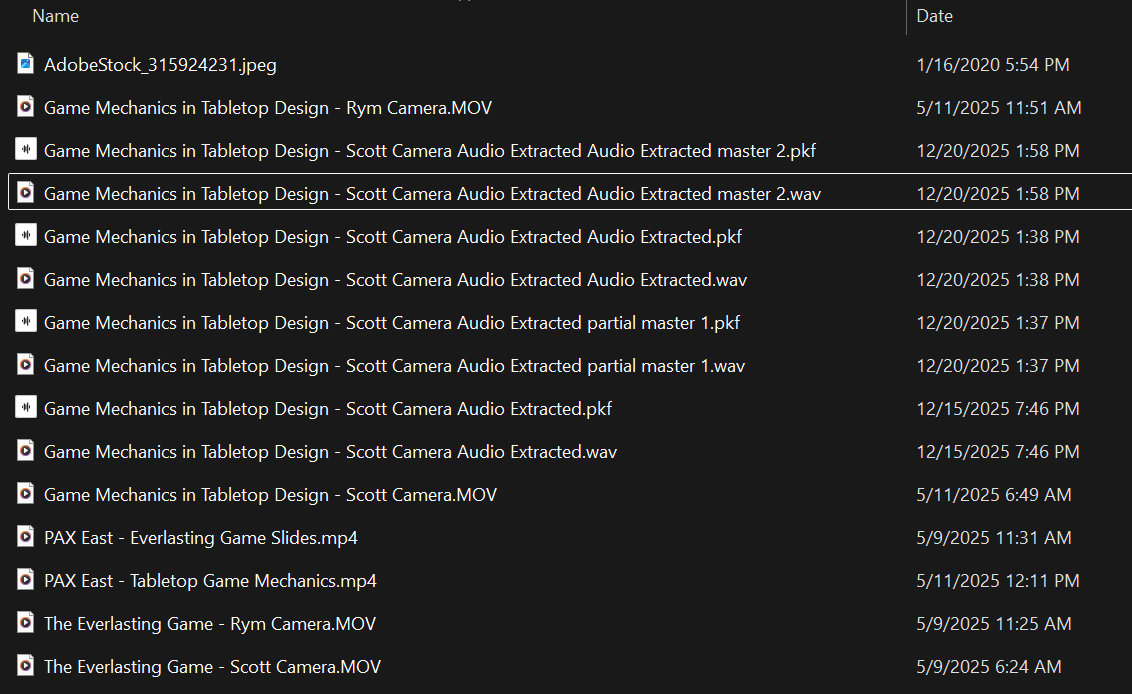
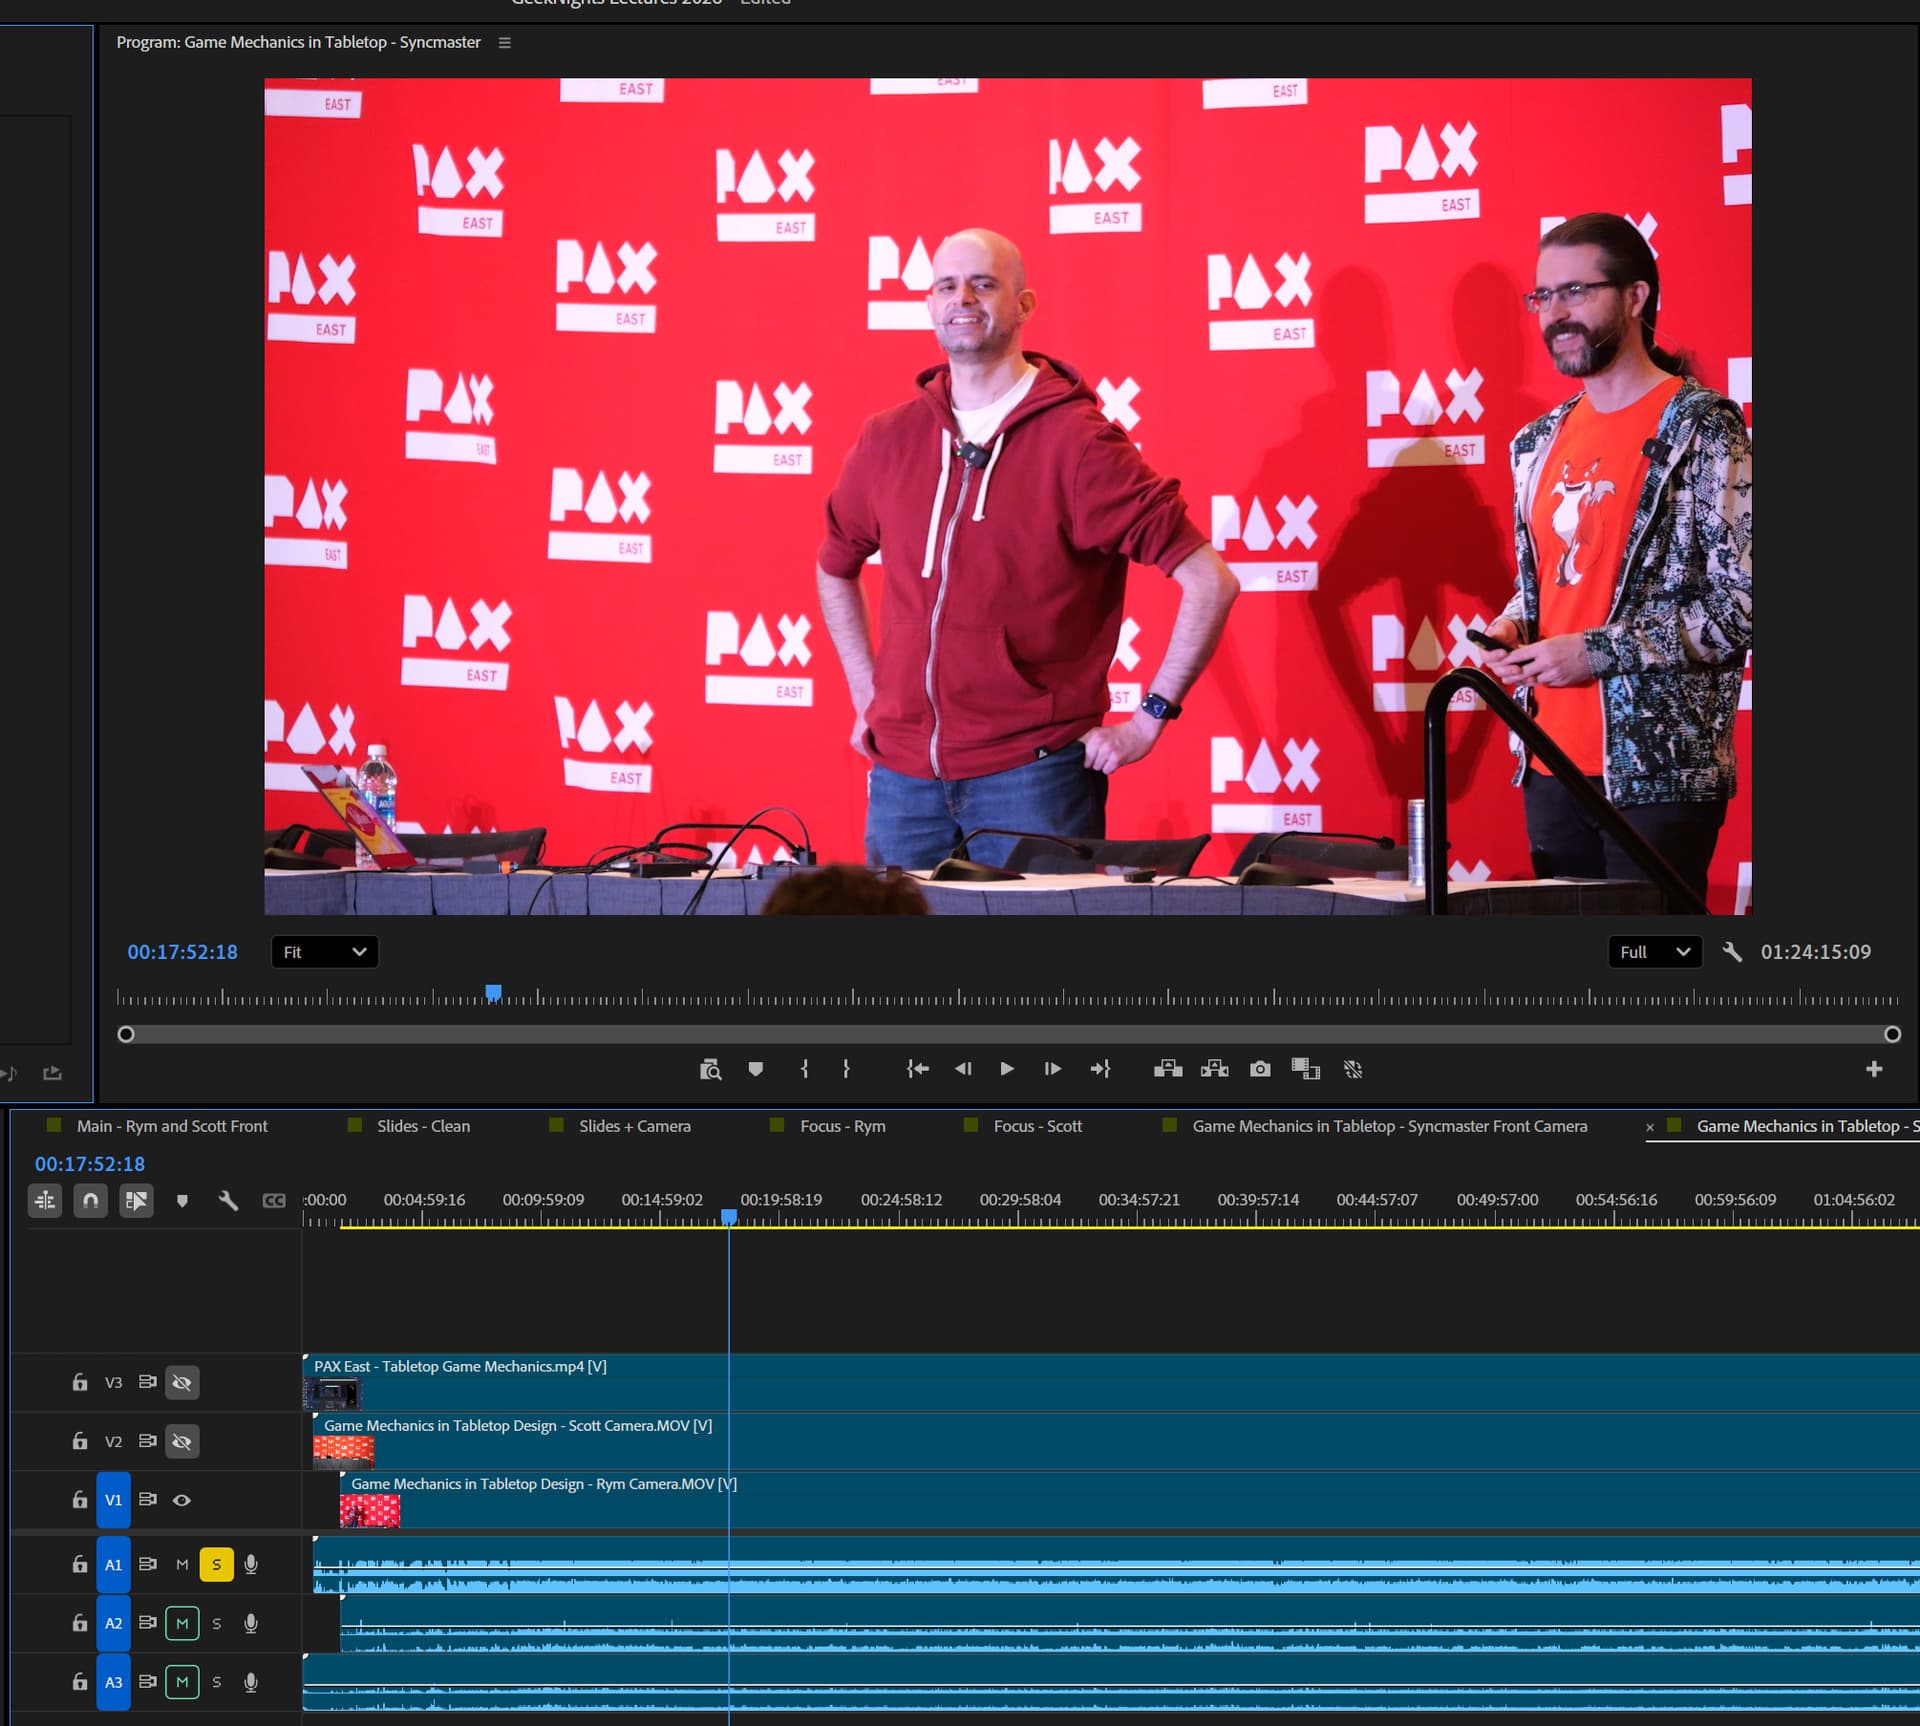
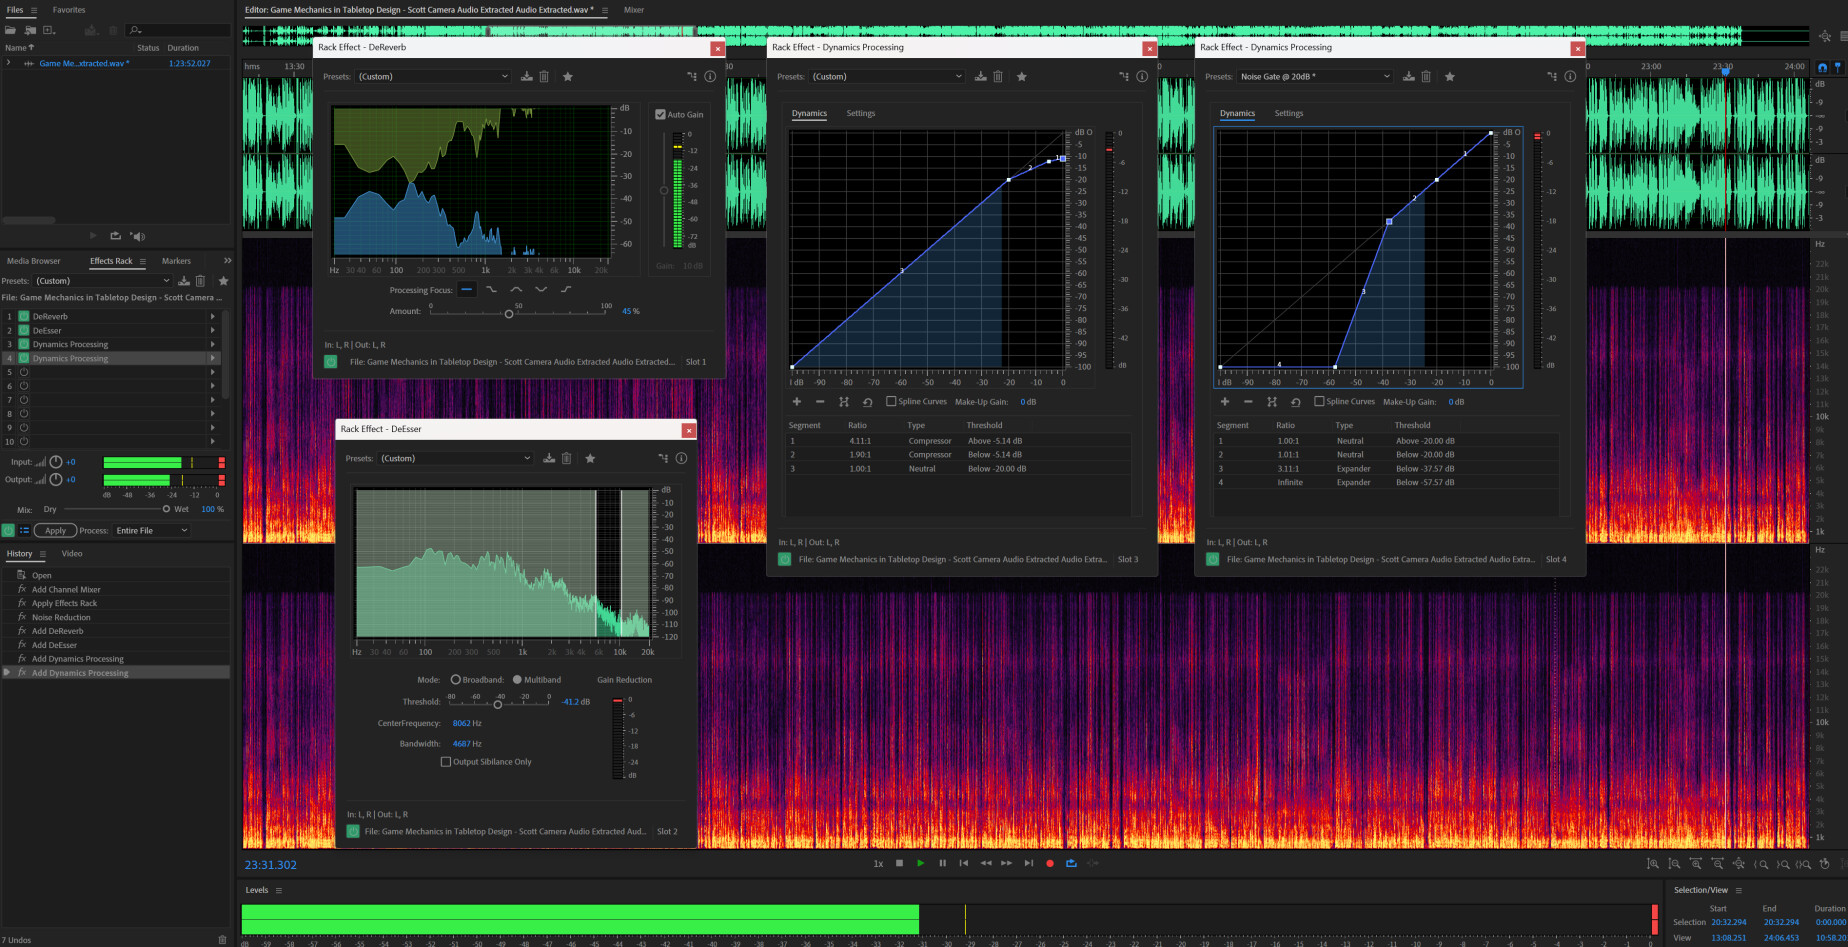
I create the syncmaster sequence, synchronizing all of my audio and video sources. It consists of one scene with every audio and video source I have, all synchronized.
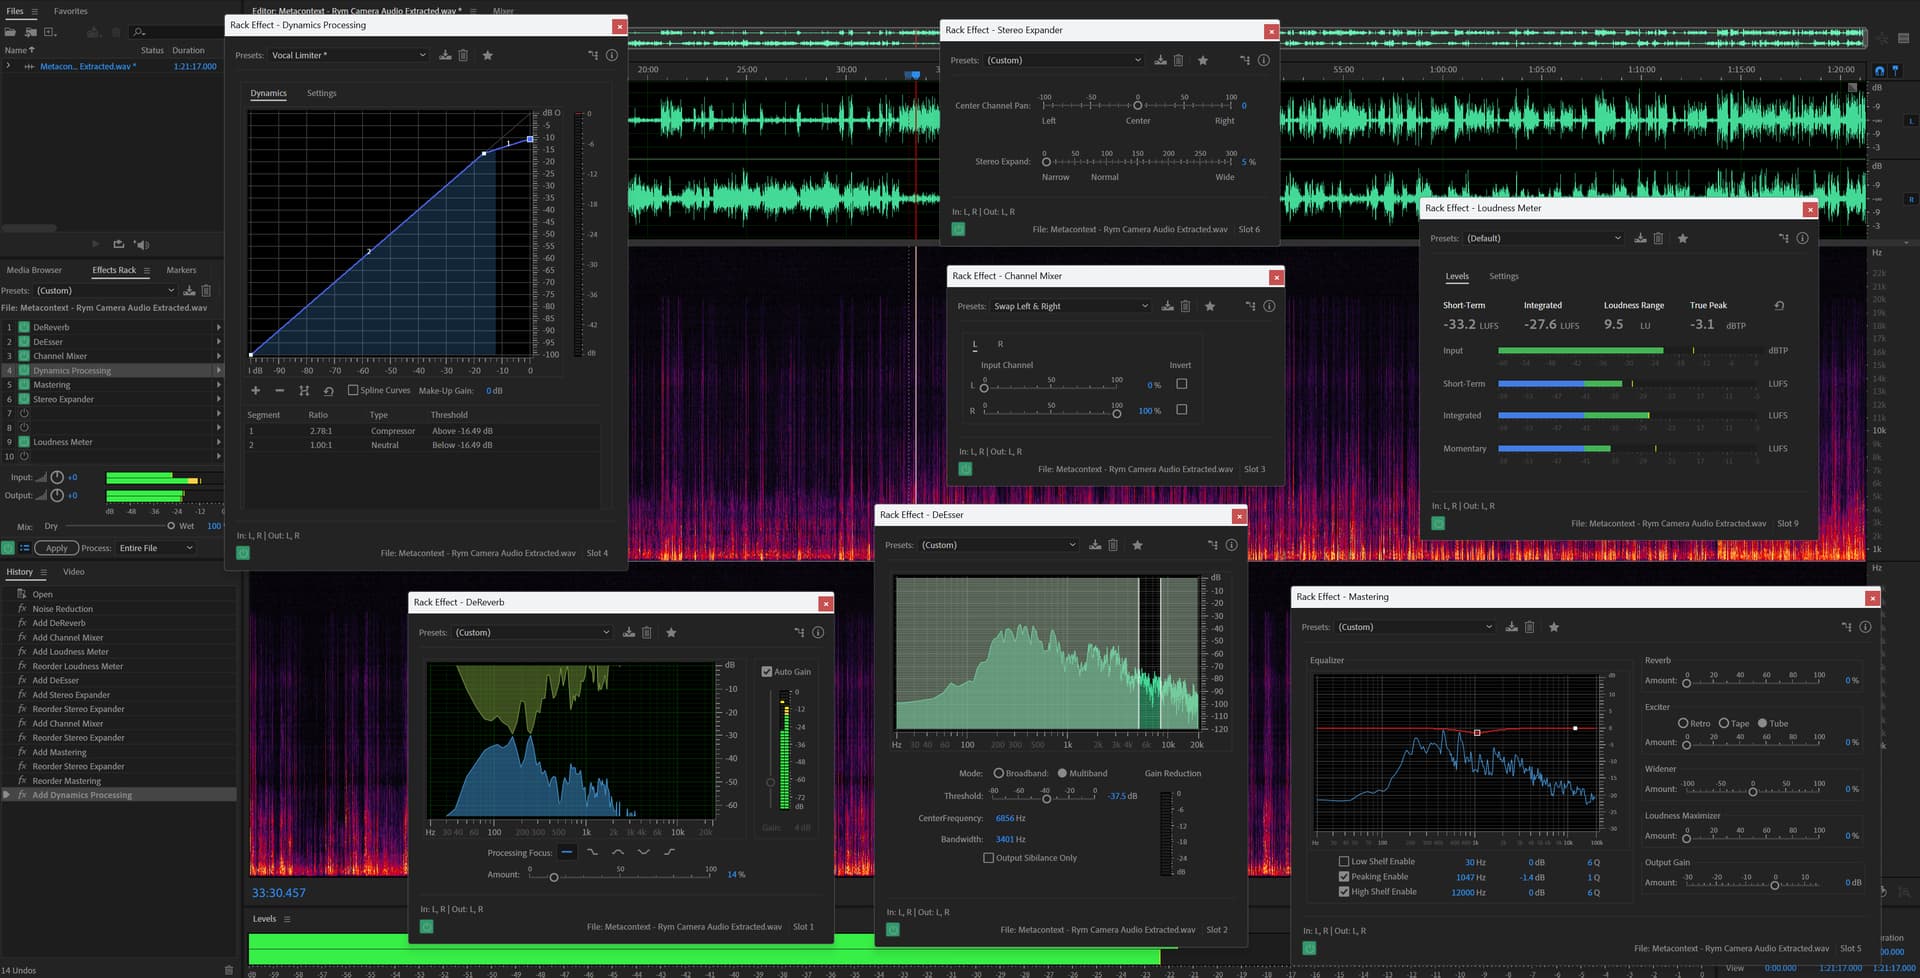
Audio is an art unto itself, and it’s something you can pay a friend or a professional to do. I just happen to be very experienced with audio, so I do it myself.
Audio is so important because this is a lecture. It has to be as intelligible as possible. The goal of a video of a lecture or panel is to transfer the information conveyed with high fidelity. The audio is the most important information contained in your sources. “Just voices and slides” with no actual video is a high fidelity format. You can make a lot from very little.
Ideally I shouldn’t have to come back to this layer at any point. Once it’s done, it’s done. But I could do a quick job on this now to skip ahead to the editing. I can come back to clean this up any time, and it will propagate up the chain.
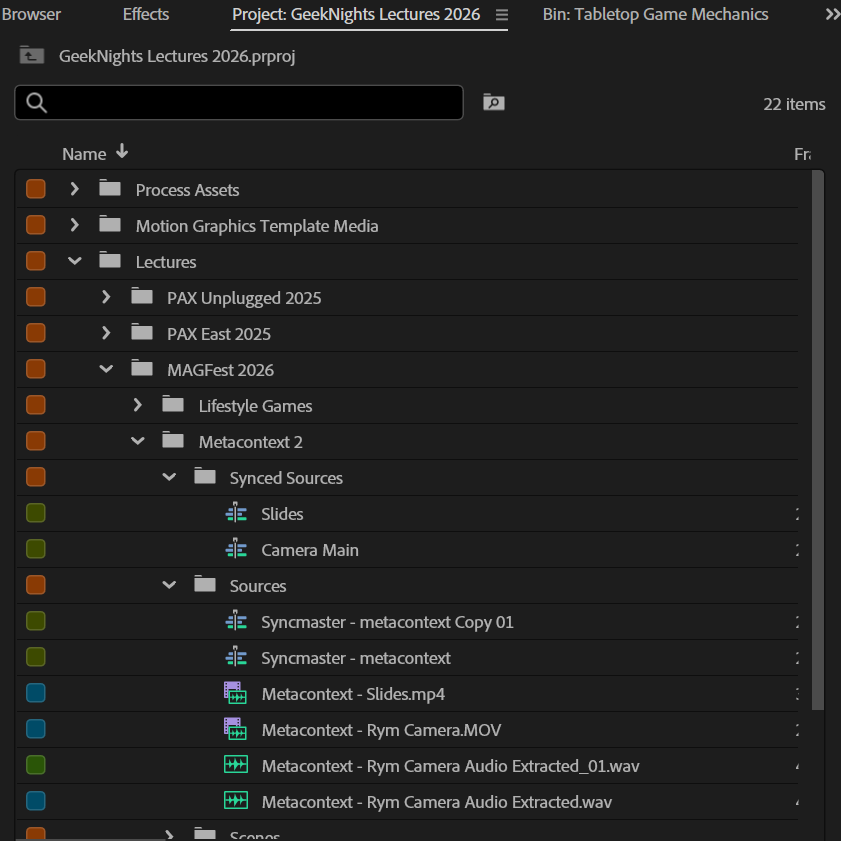
Using the syncmaster, I create independent synced sources. Touching one of these will not impact the other synced sources. They all share the same audio track.
Cropping, color correction, stabilization, and any necessary touchups to the video are applied here. I can do it now or later: changes I make here will propagate up the chain.
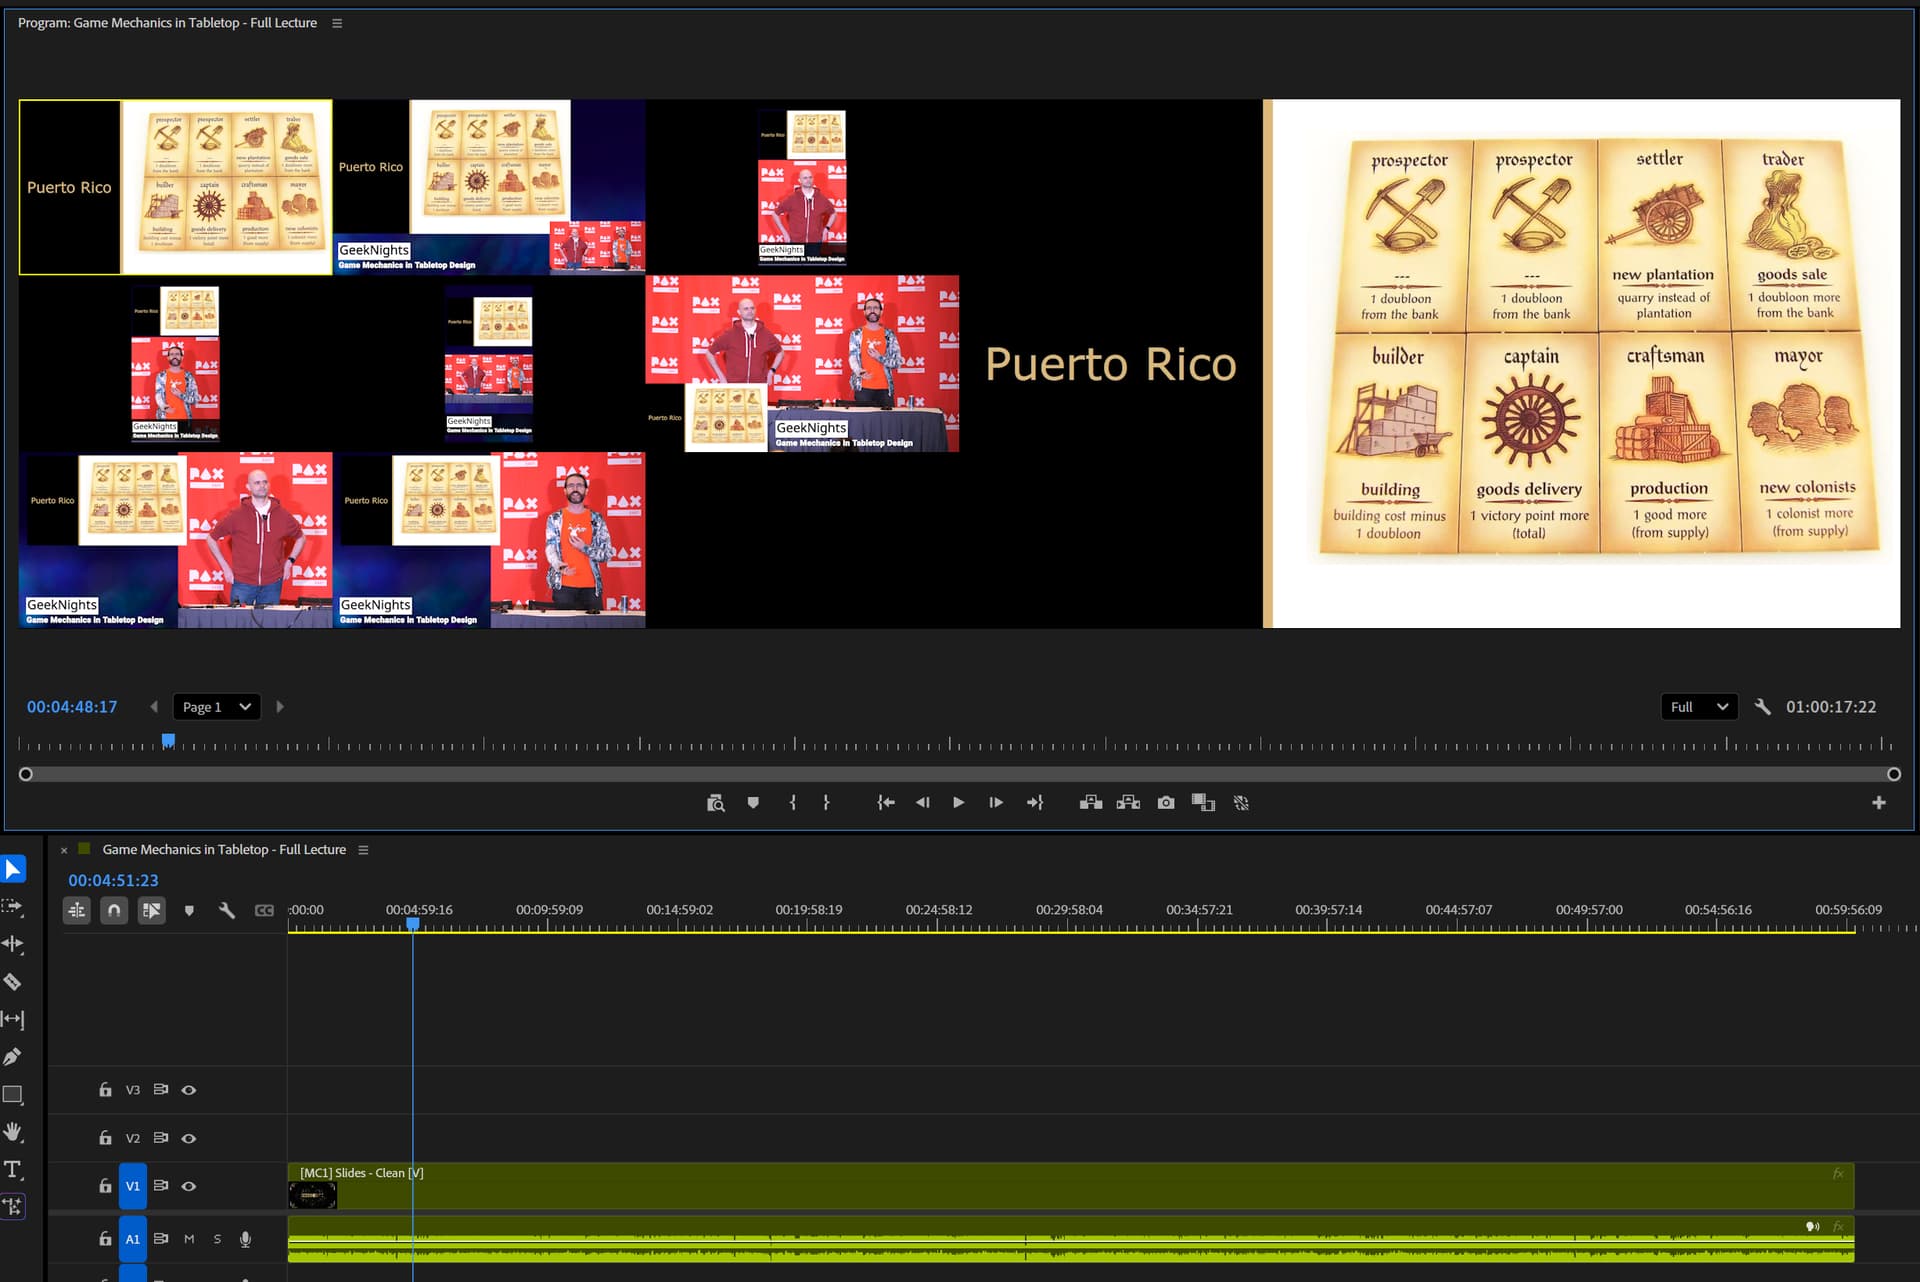
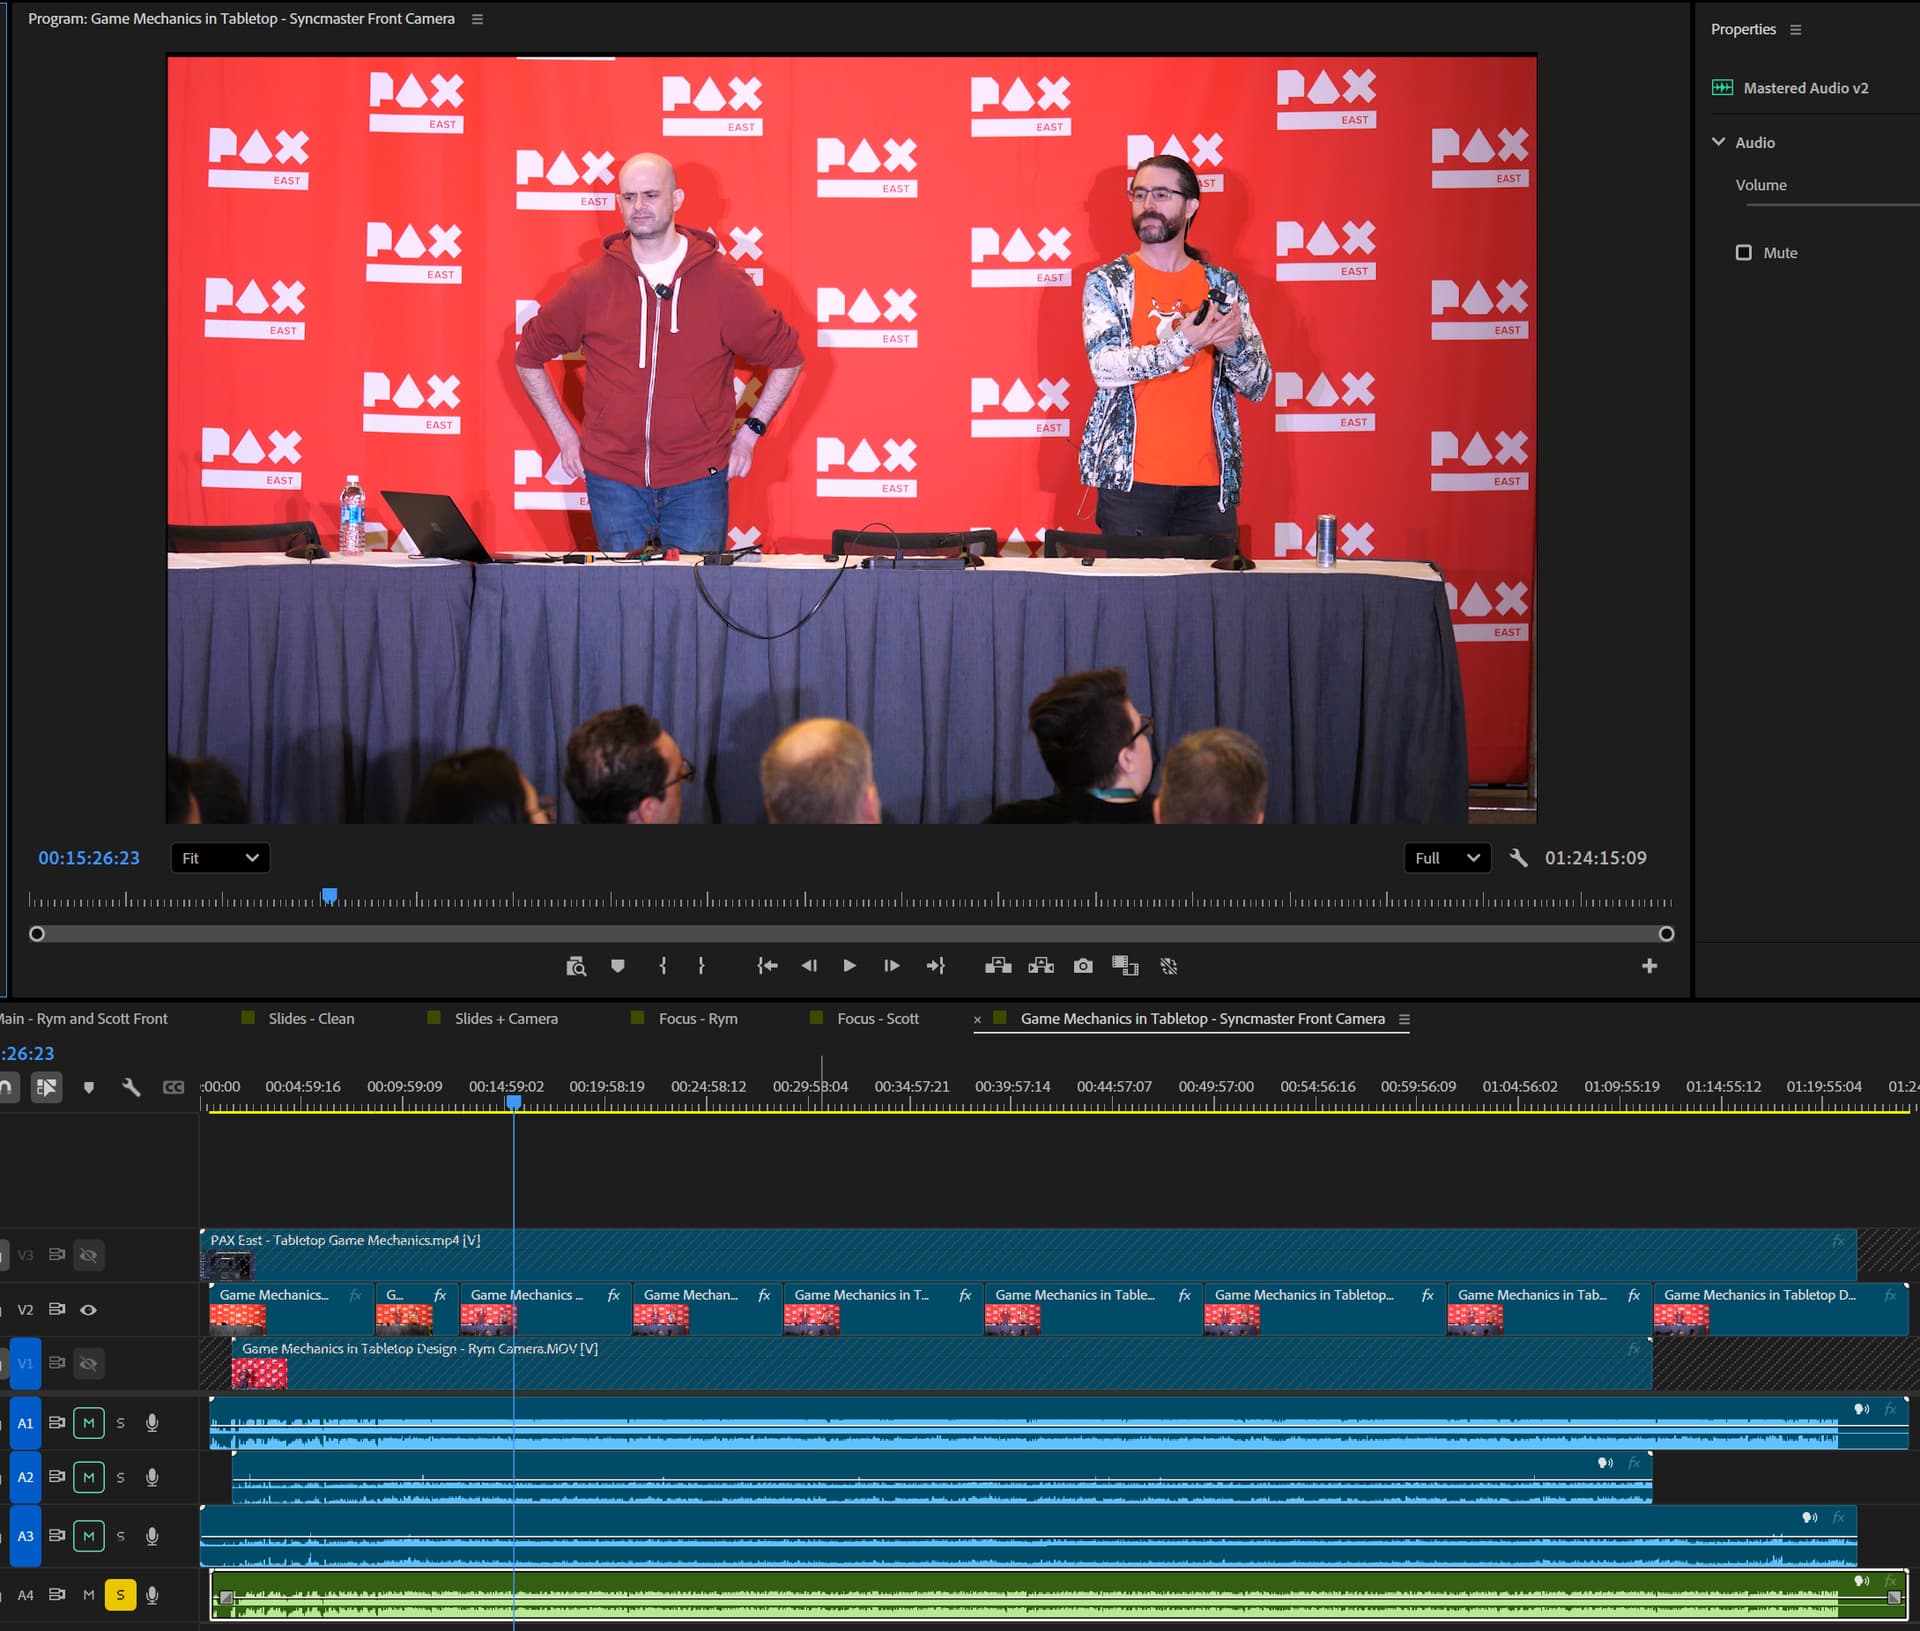
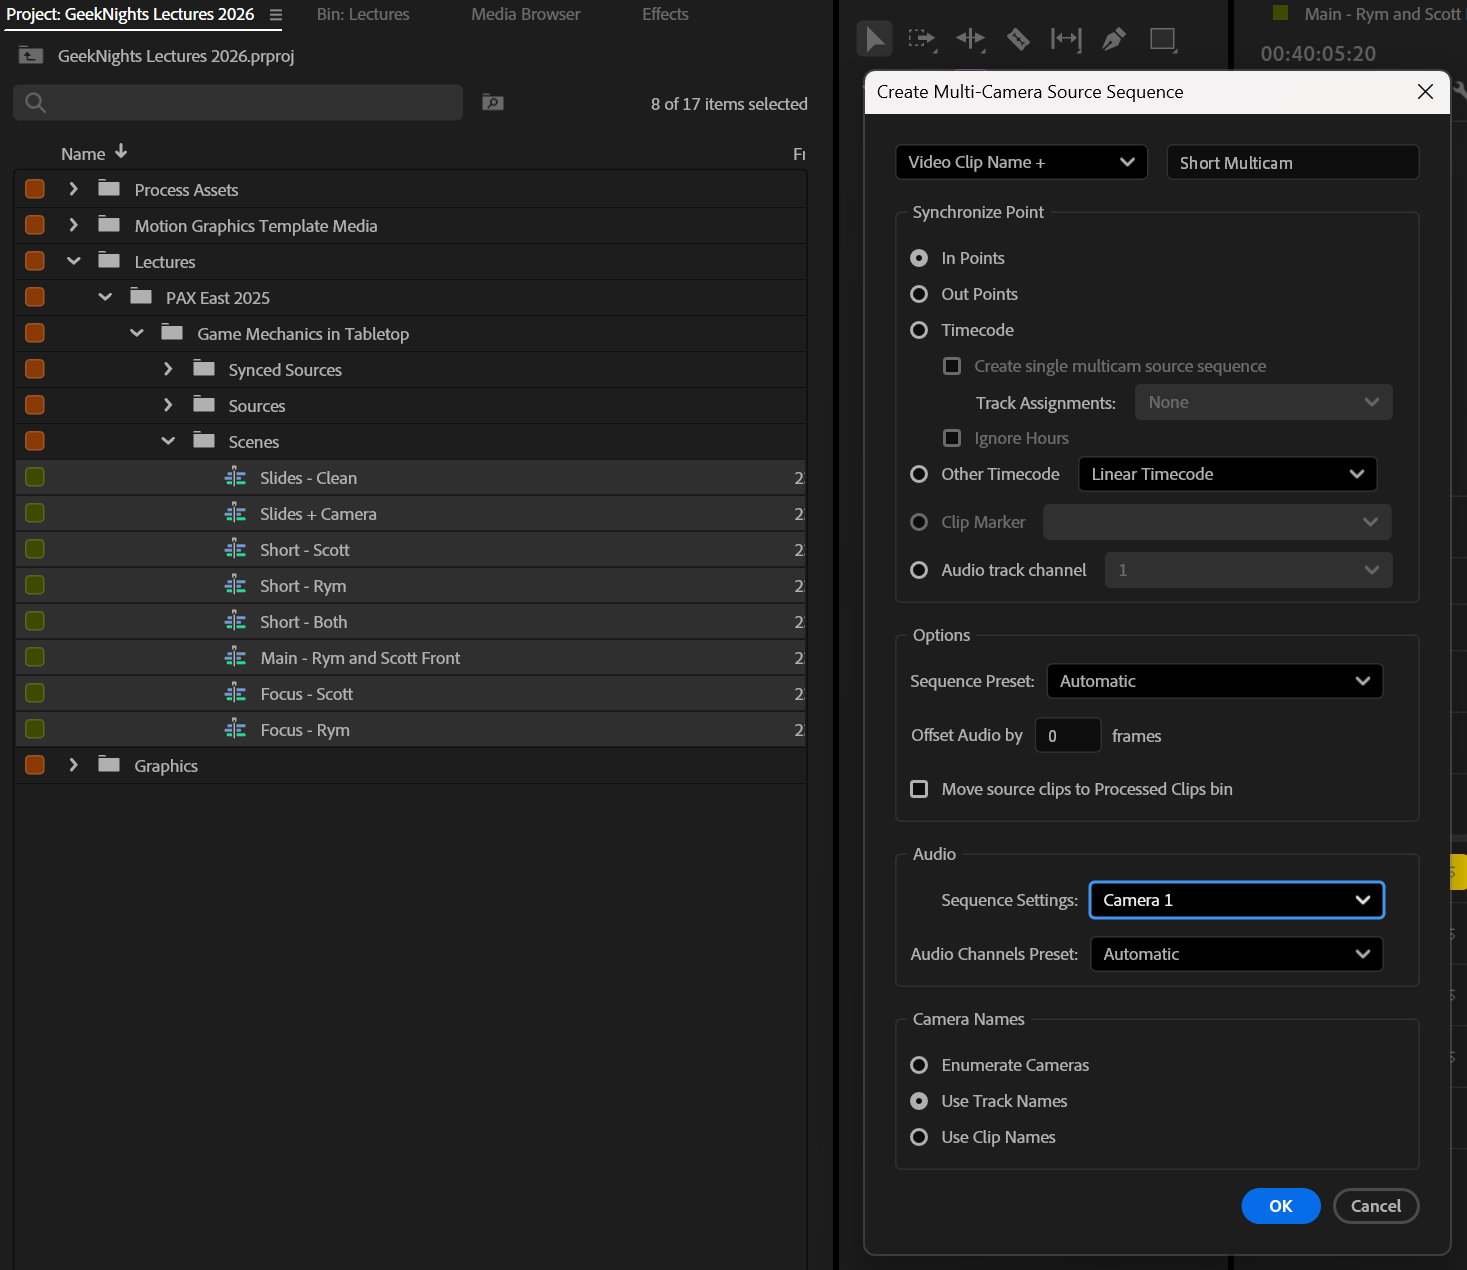
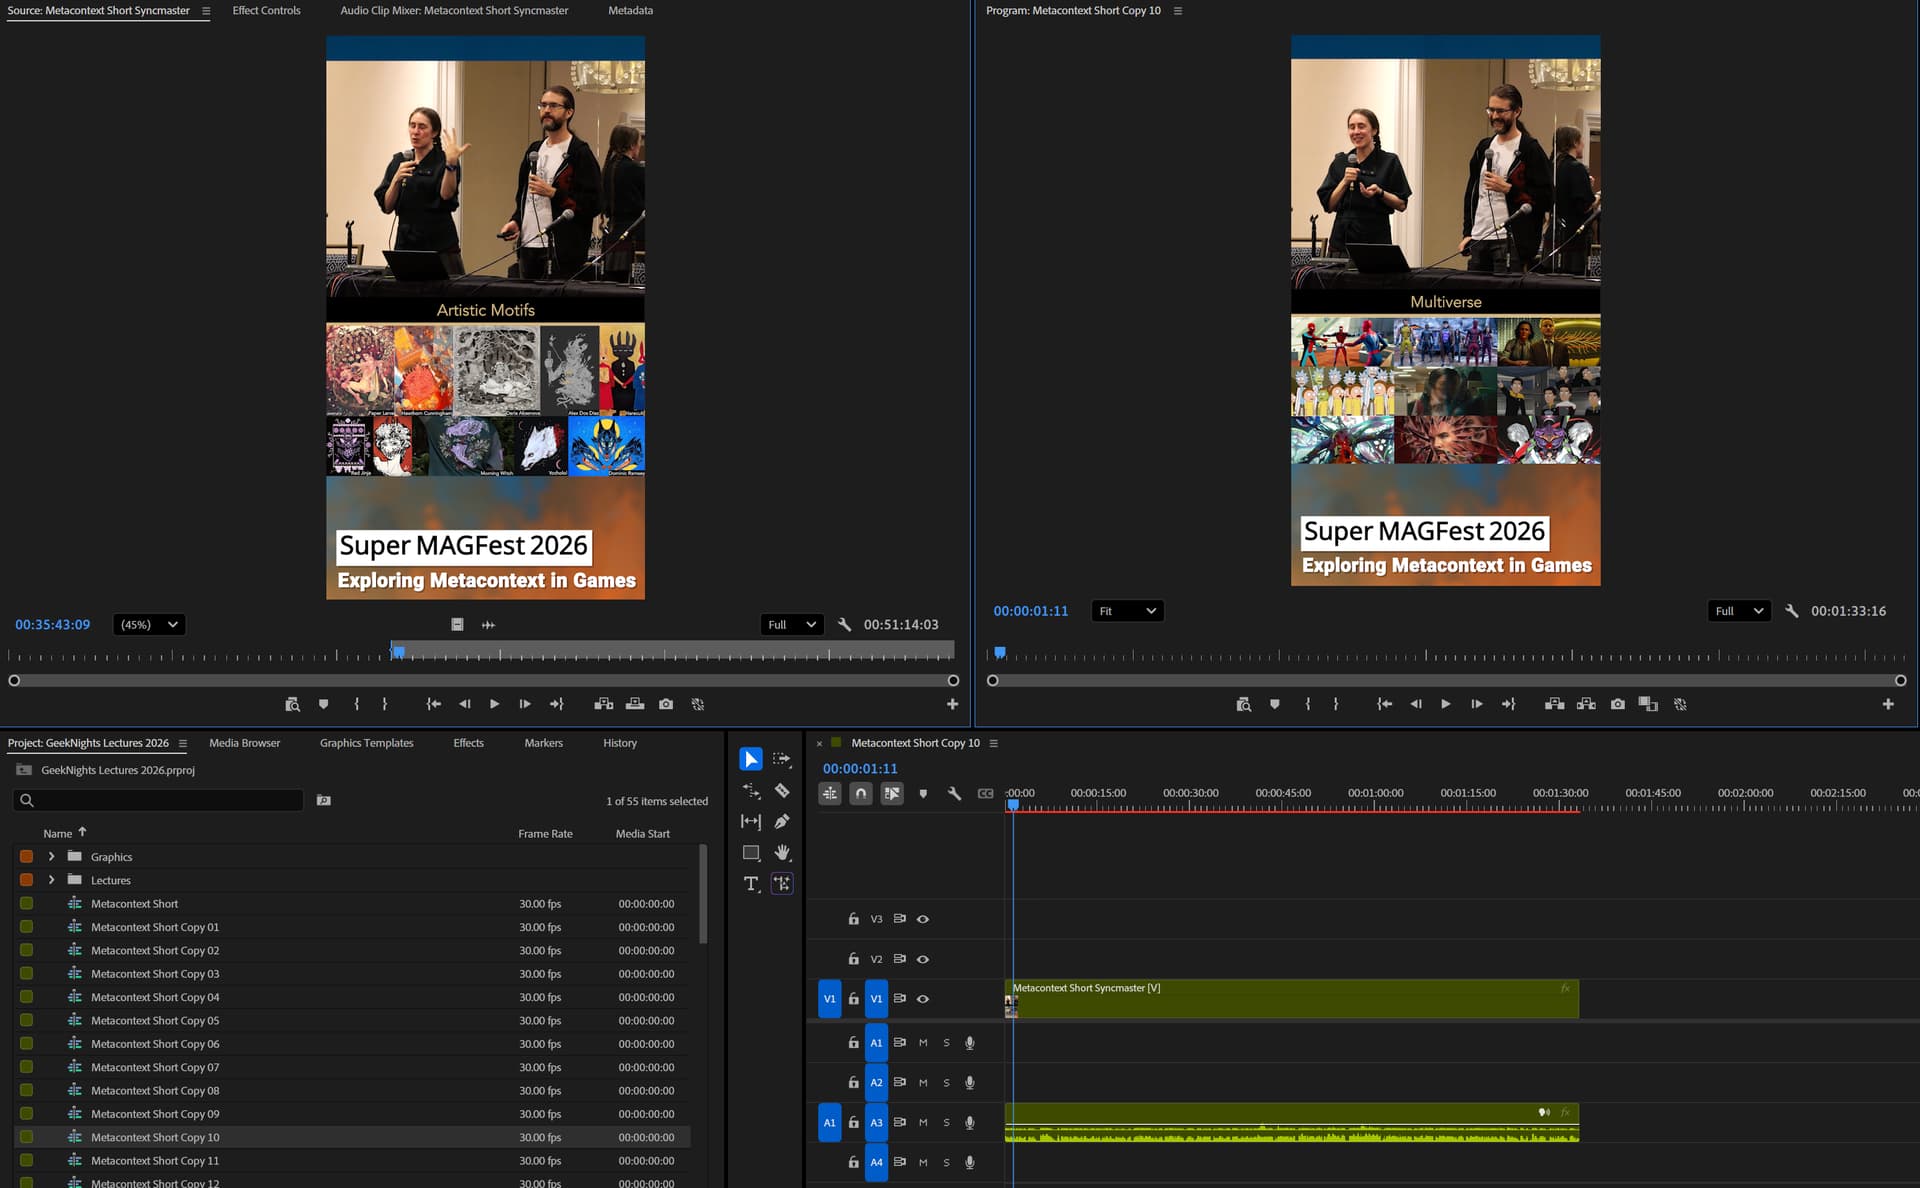
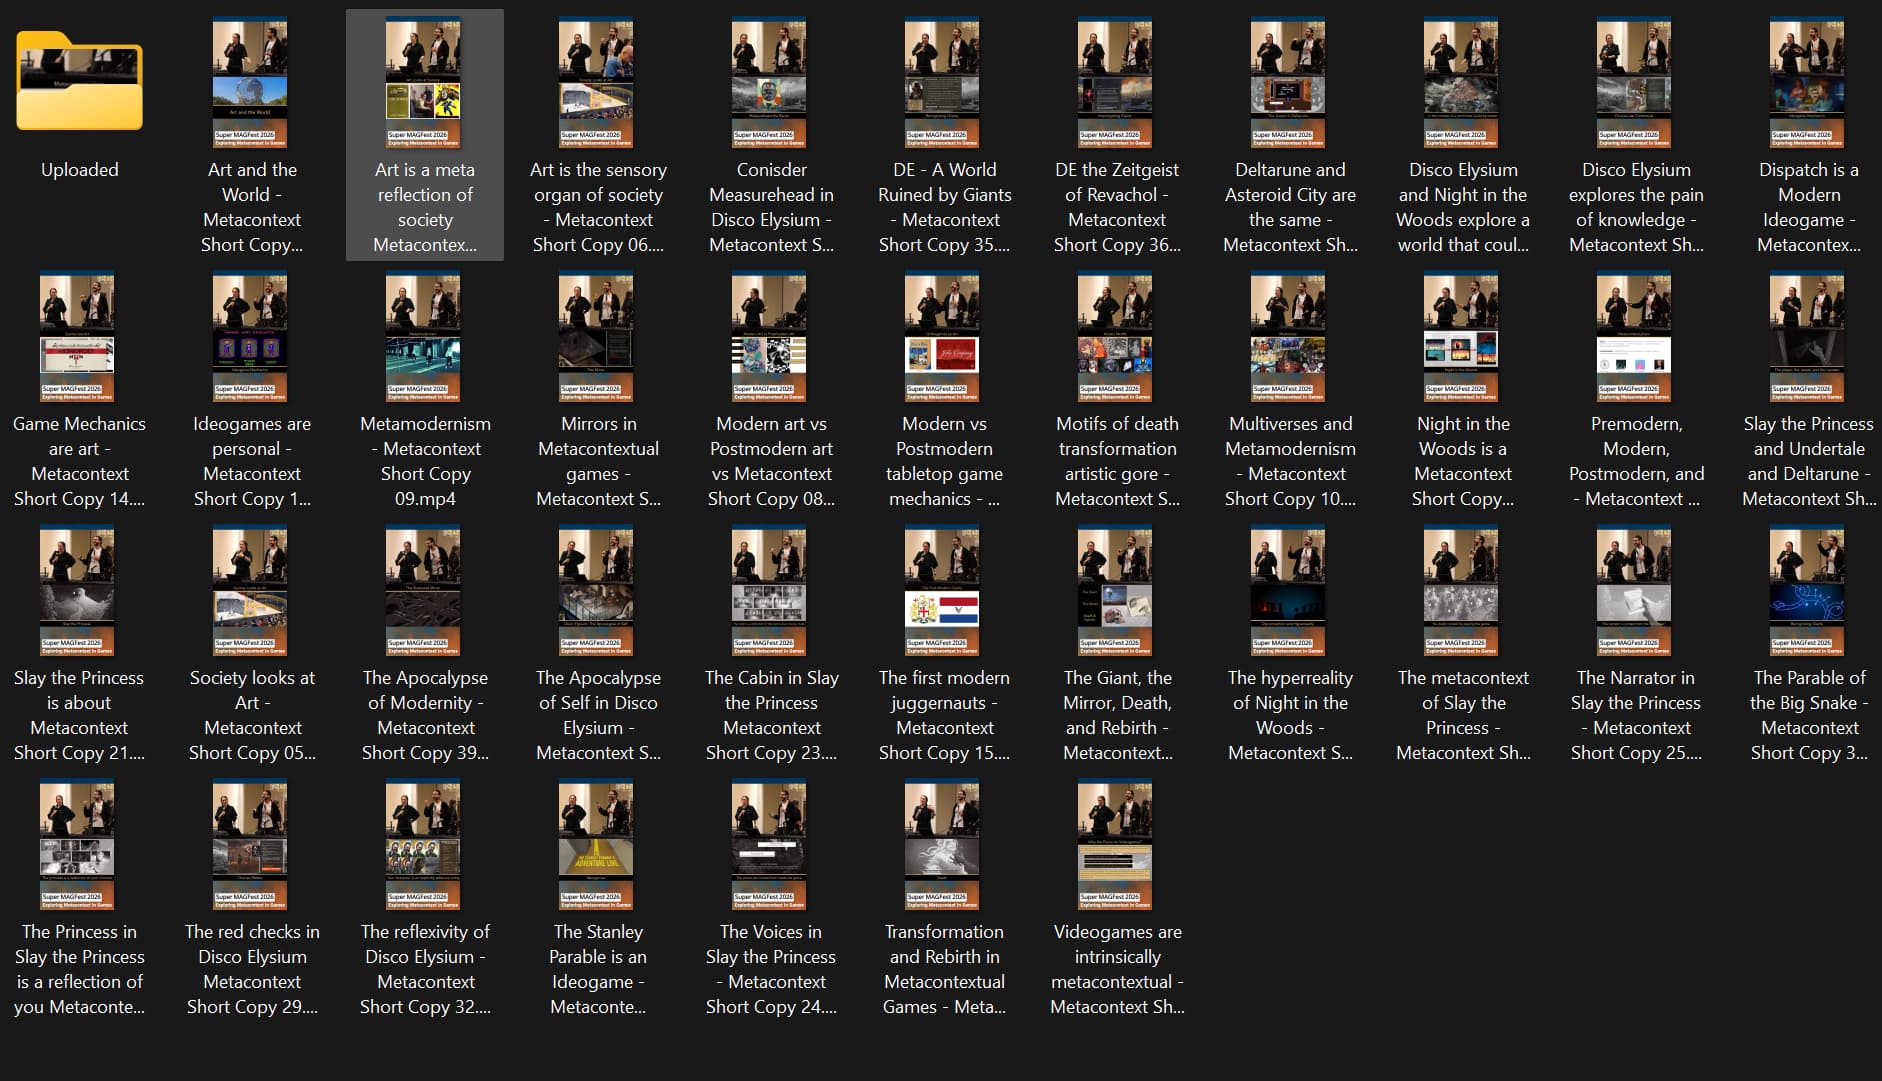
I now have an array of every “camera angle” in a time synchronized ready-to-rock Premiere multicam sequence. This is the tool I use to make the videos. I create the full lecture video as well as all of the shorts (typically ~40-50).
Once I’m at this stage, nothing below this layer of abstraction matters. Now I can focus solely on content editing.
If I were to hire an assistant, I would want them to perform the intake process for me. They would deliver well-formed Multicam Master files in this format.
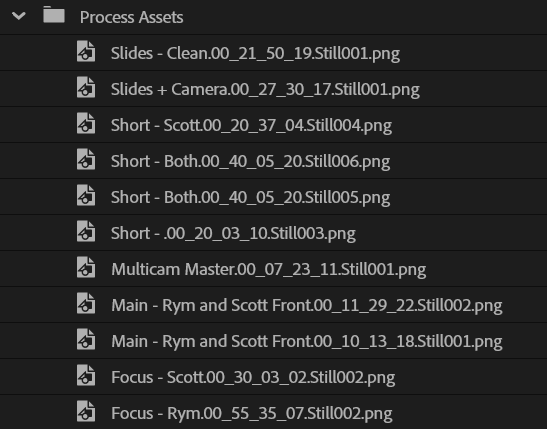
The images, documentation, and assets I generate while I’m working. It’s a sort of process diary of how this project progressed. I use these to assess and document what I’m doing. I’m doing a little more of this than usual since I’m sharing my process notes.
This is the stage I’m at as of the time of this post. From this point forward, I’m trying an updated version of my editing process, which I intend to document here.
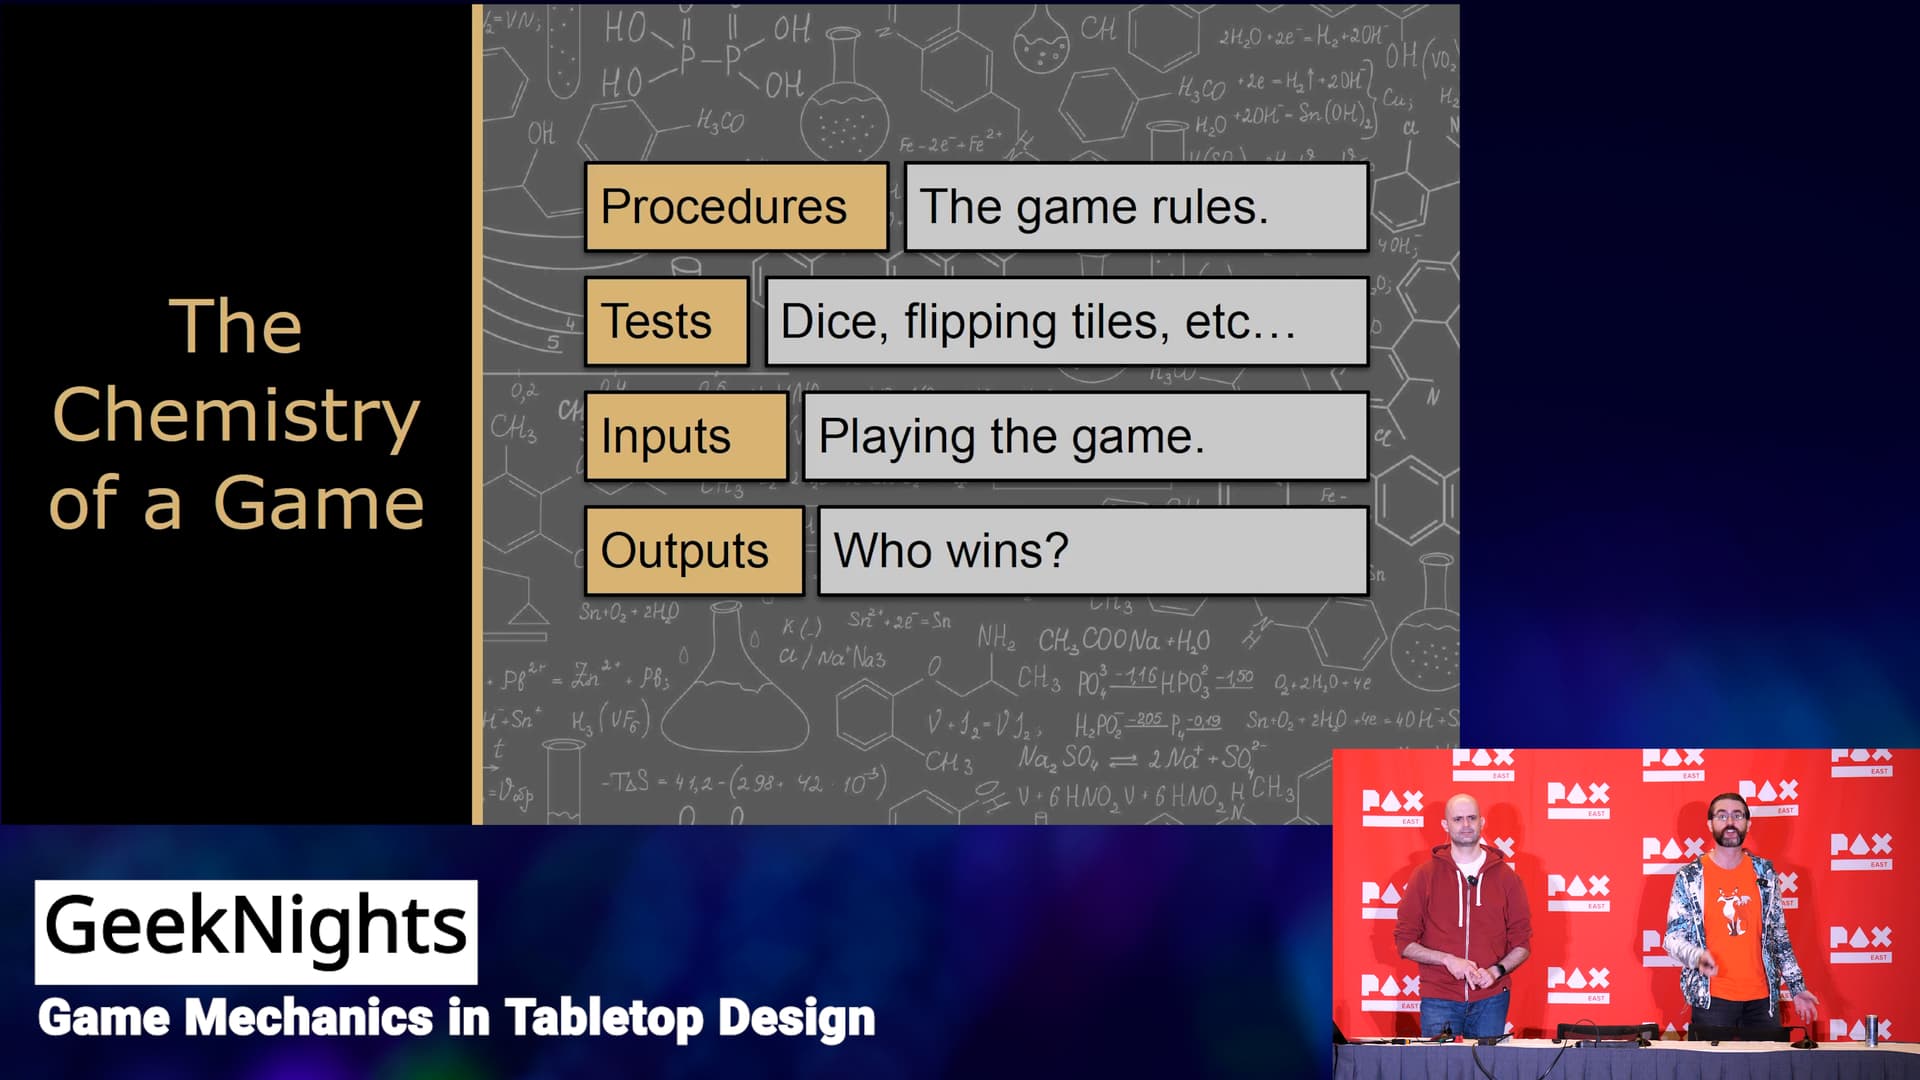
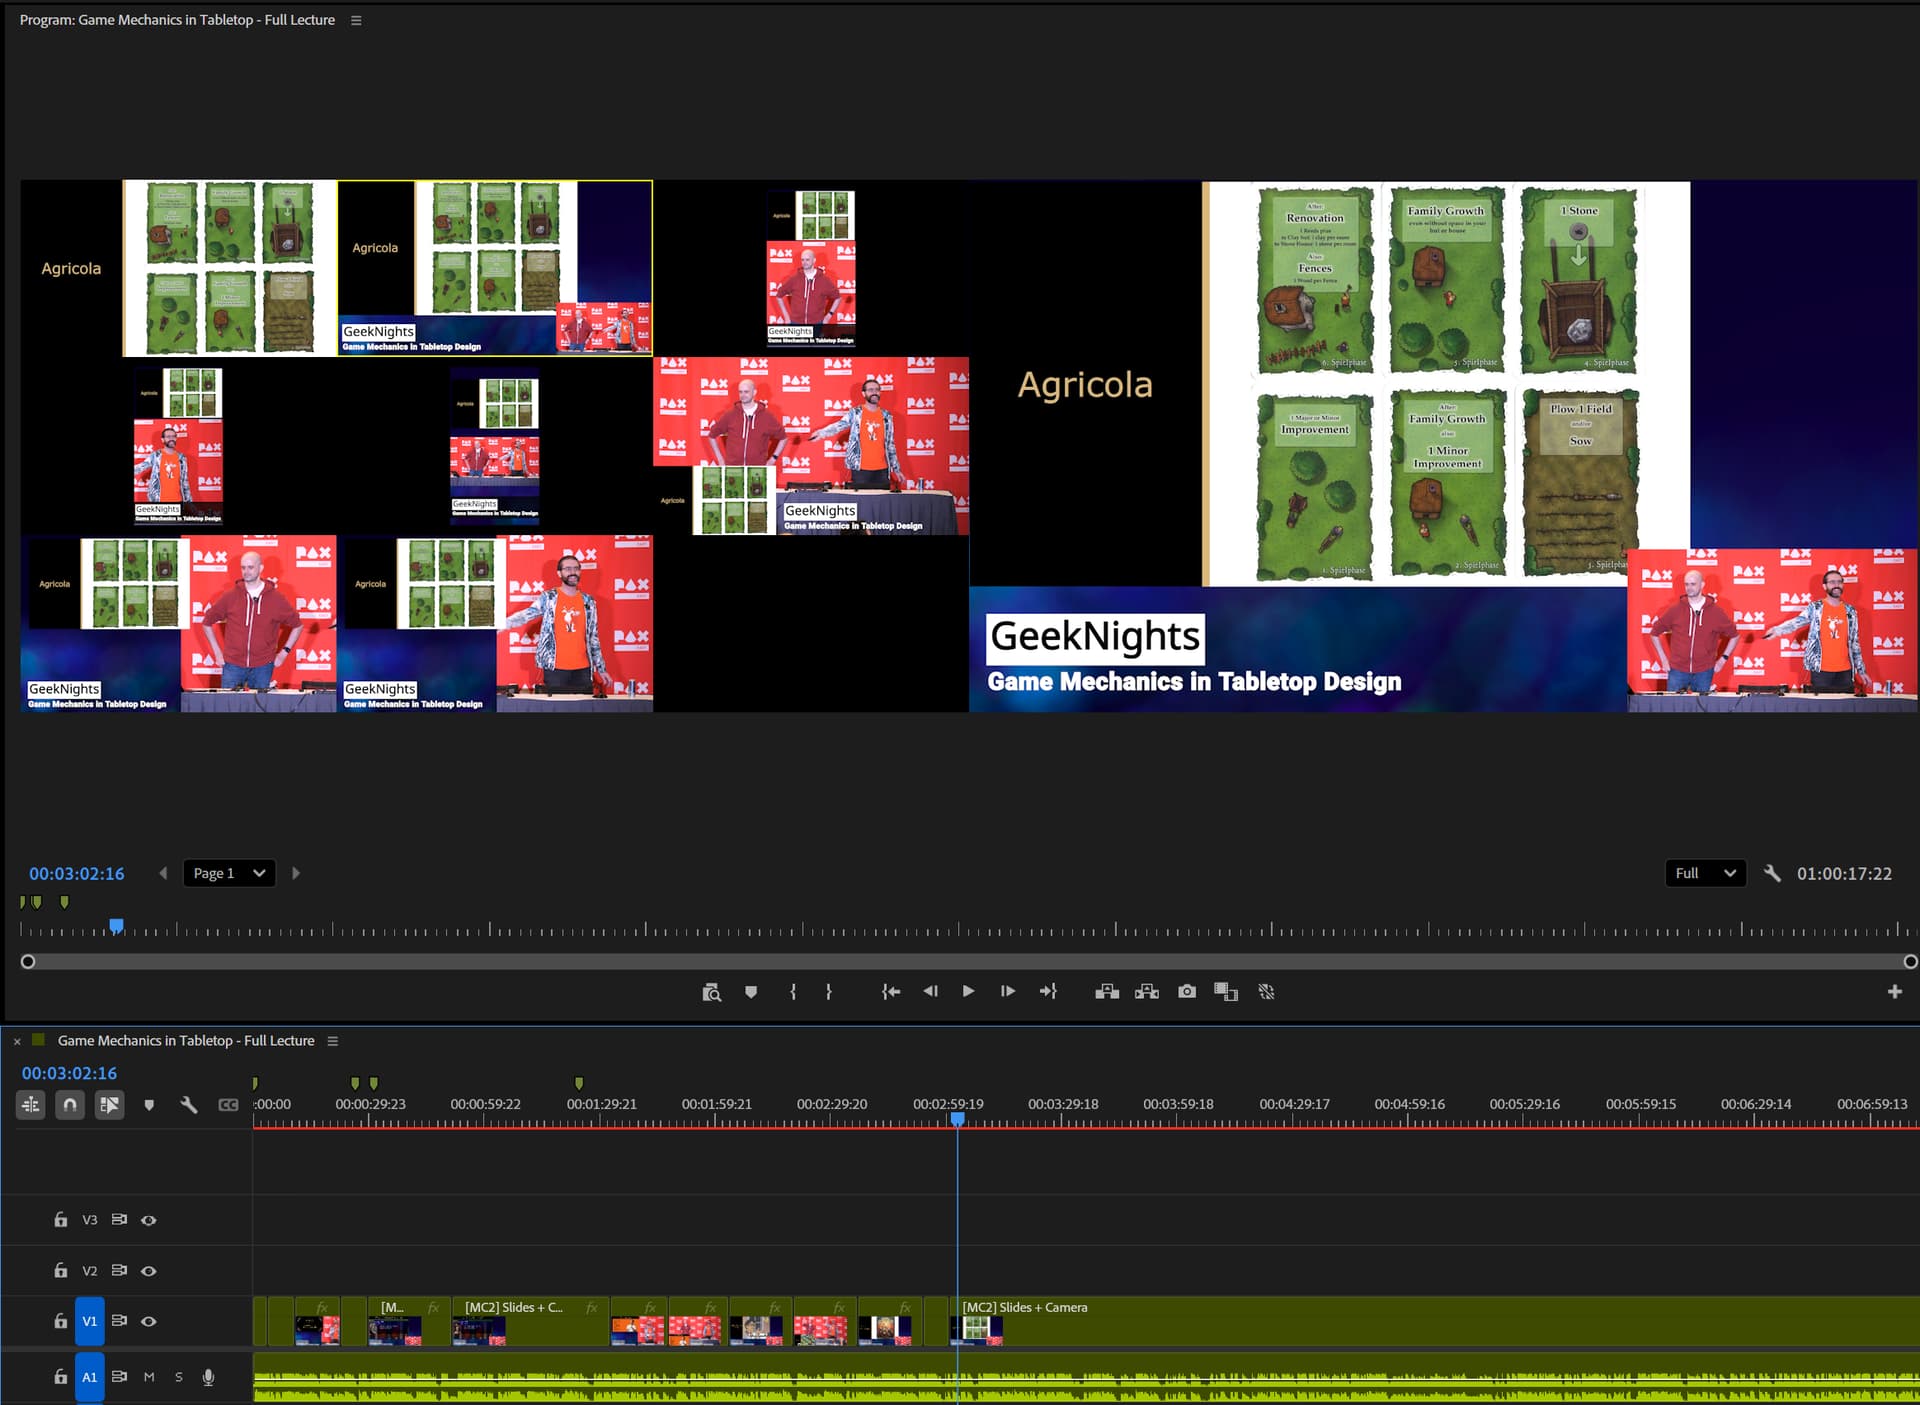
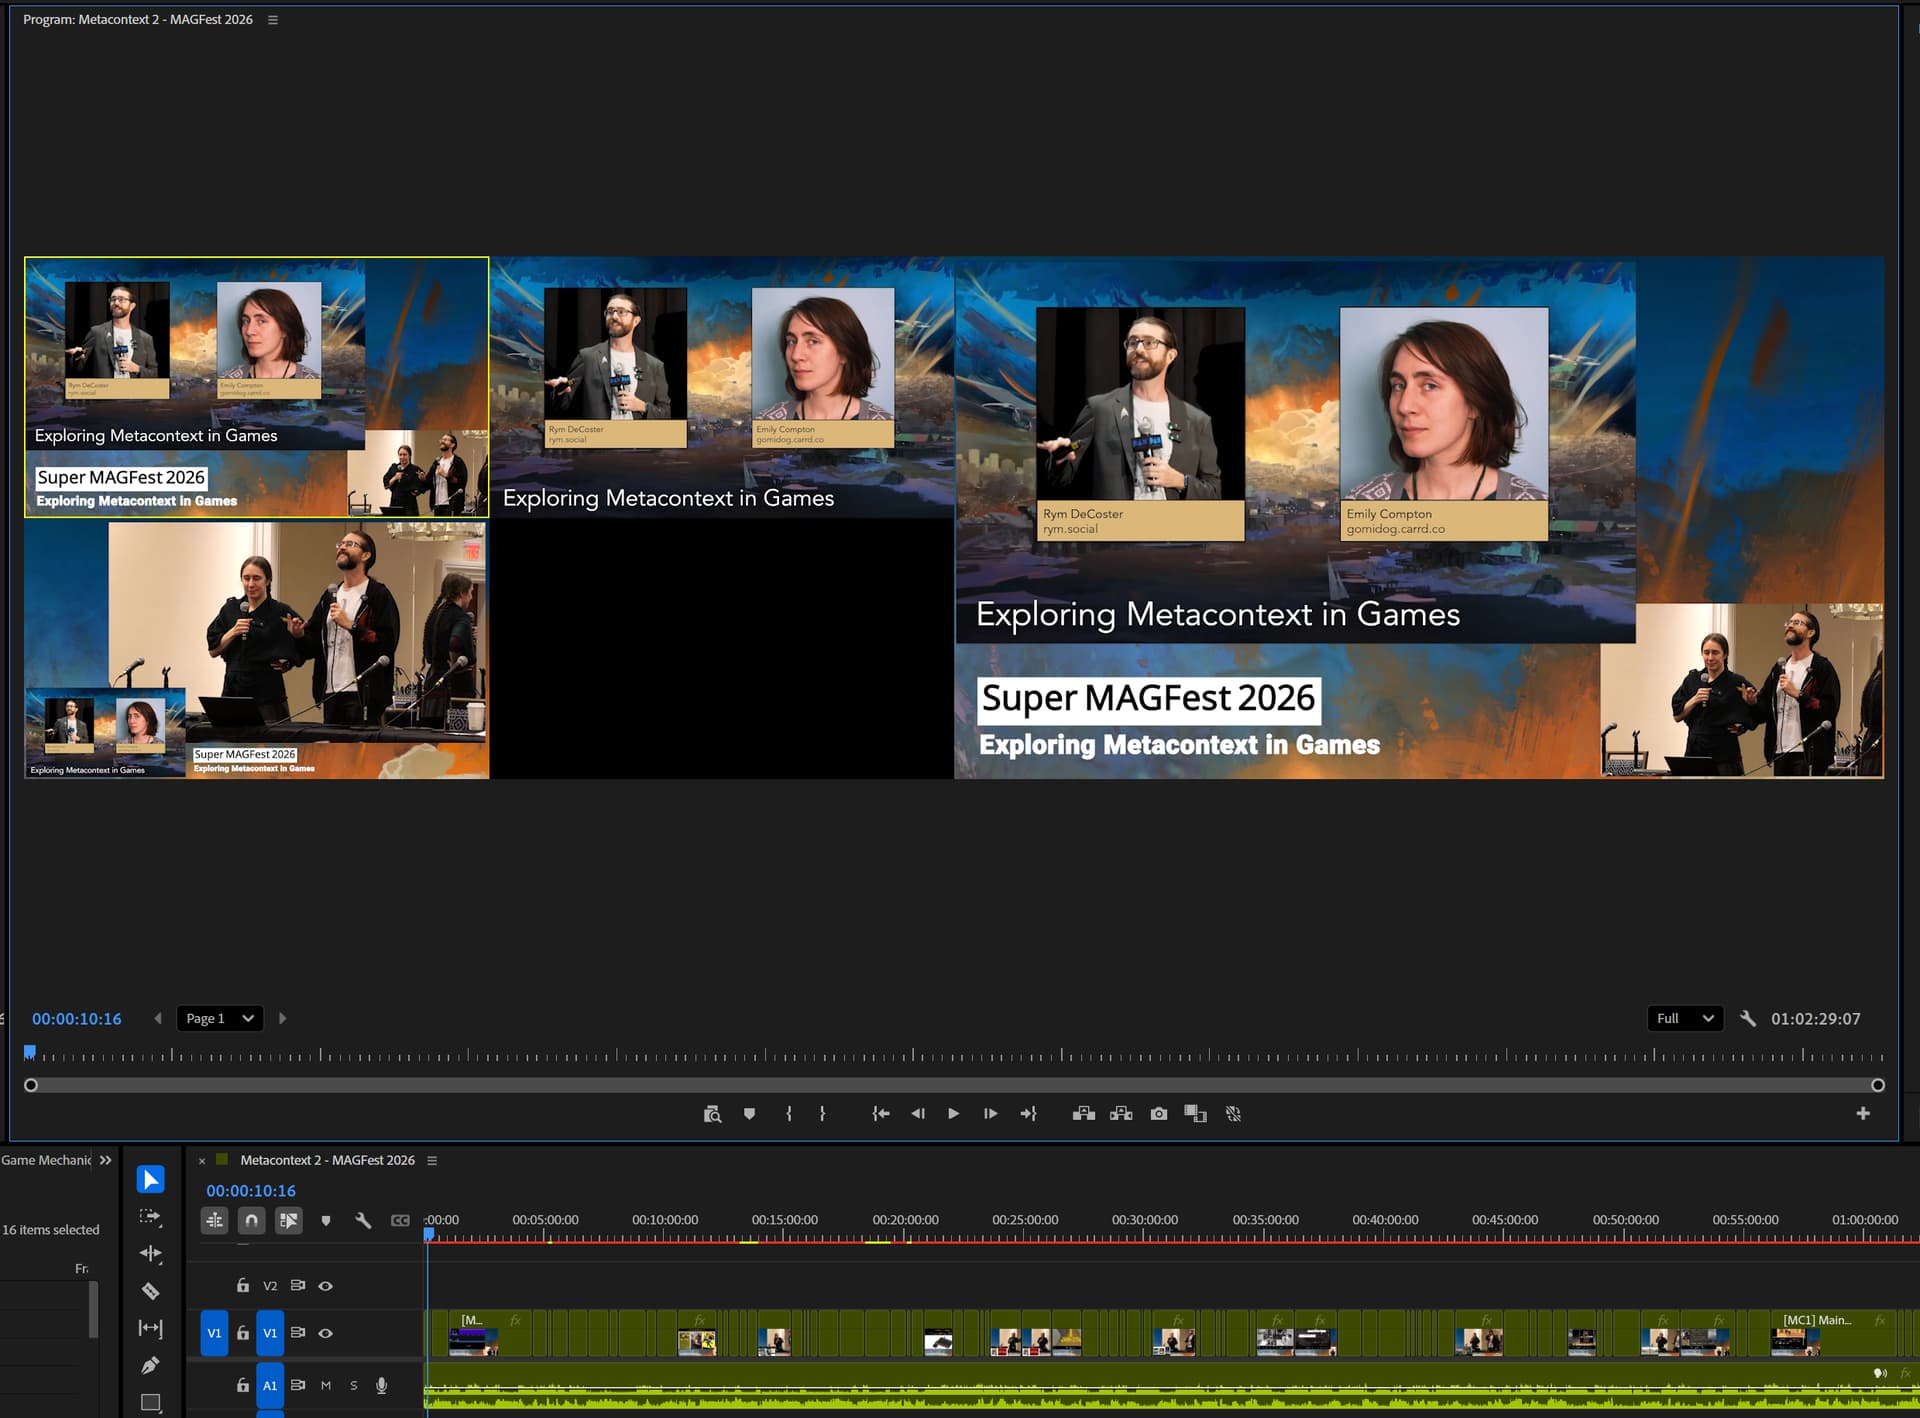
To actually make the full lecture video, I simply watch it, clicking on the different scenes as I went just like I’m in the video control room of a live event.
Premiere automatically slices up the sequence based on those clicks. Periodically, I stop to go back and fine-tune where the cuts are with the rolling edit tool.
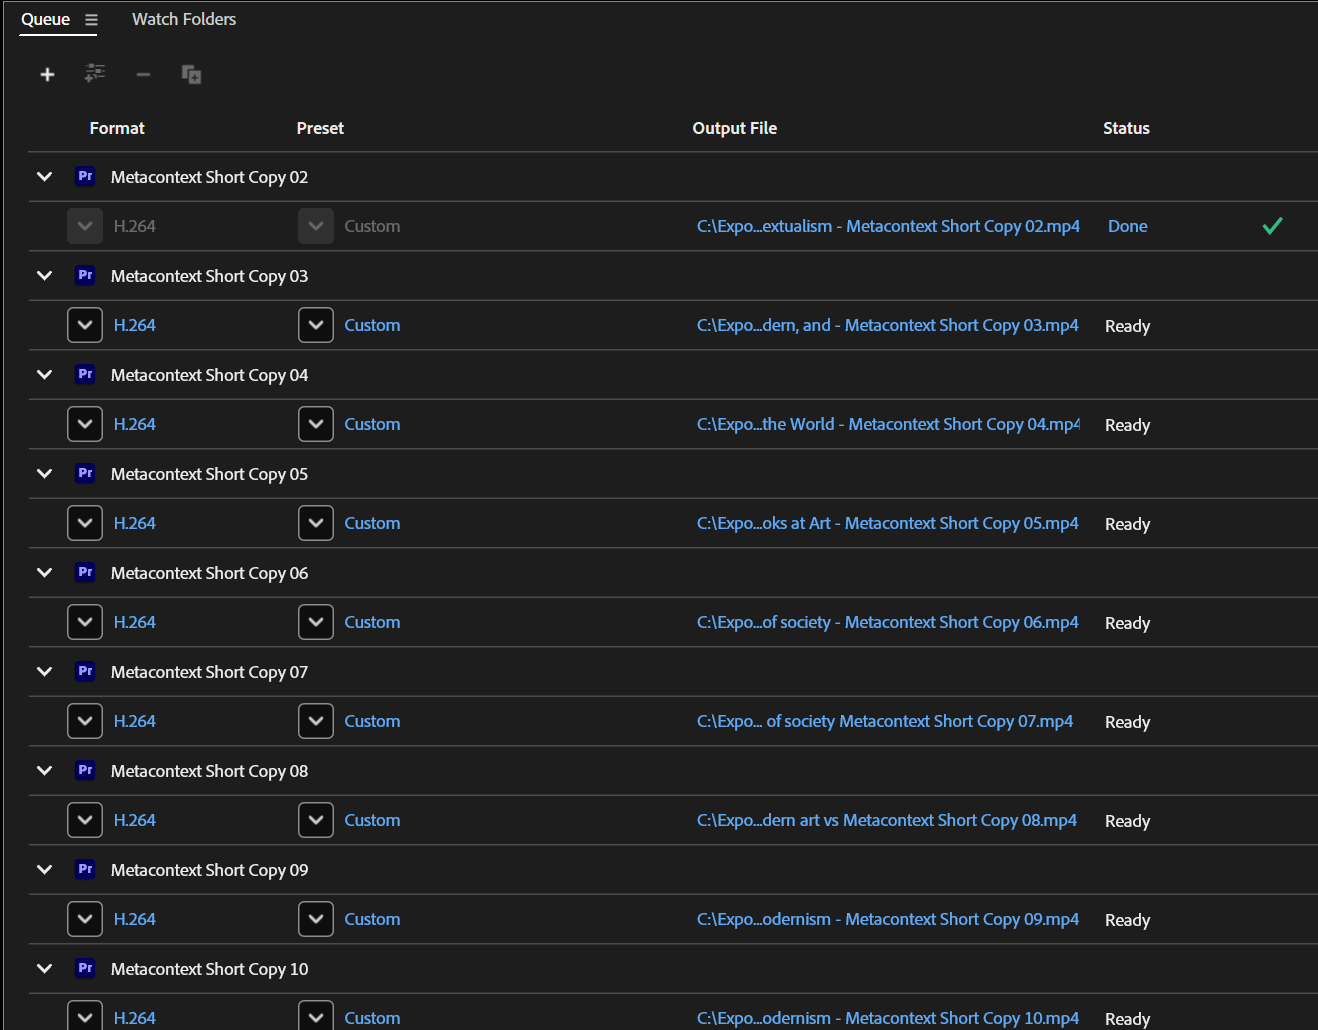
I watch at 1-4x speed depending on how dense the cuts I’m making are. I usually rewatch a few key segments to make sure they flow correctly. And that’s it. Once I get to the end, the video is ready to export and I’m done!
But what about shorts?
What I’m considering now is if I can make the shorts from the talk at the same time as I’m doing the cuts. Normally I revisit the talk later and watch it again, cutting out a subscene for each short to then export.
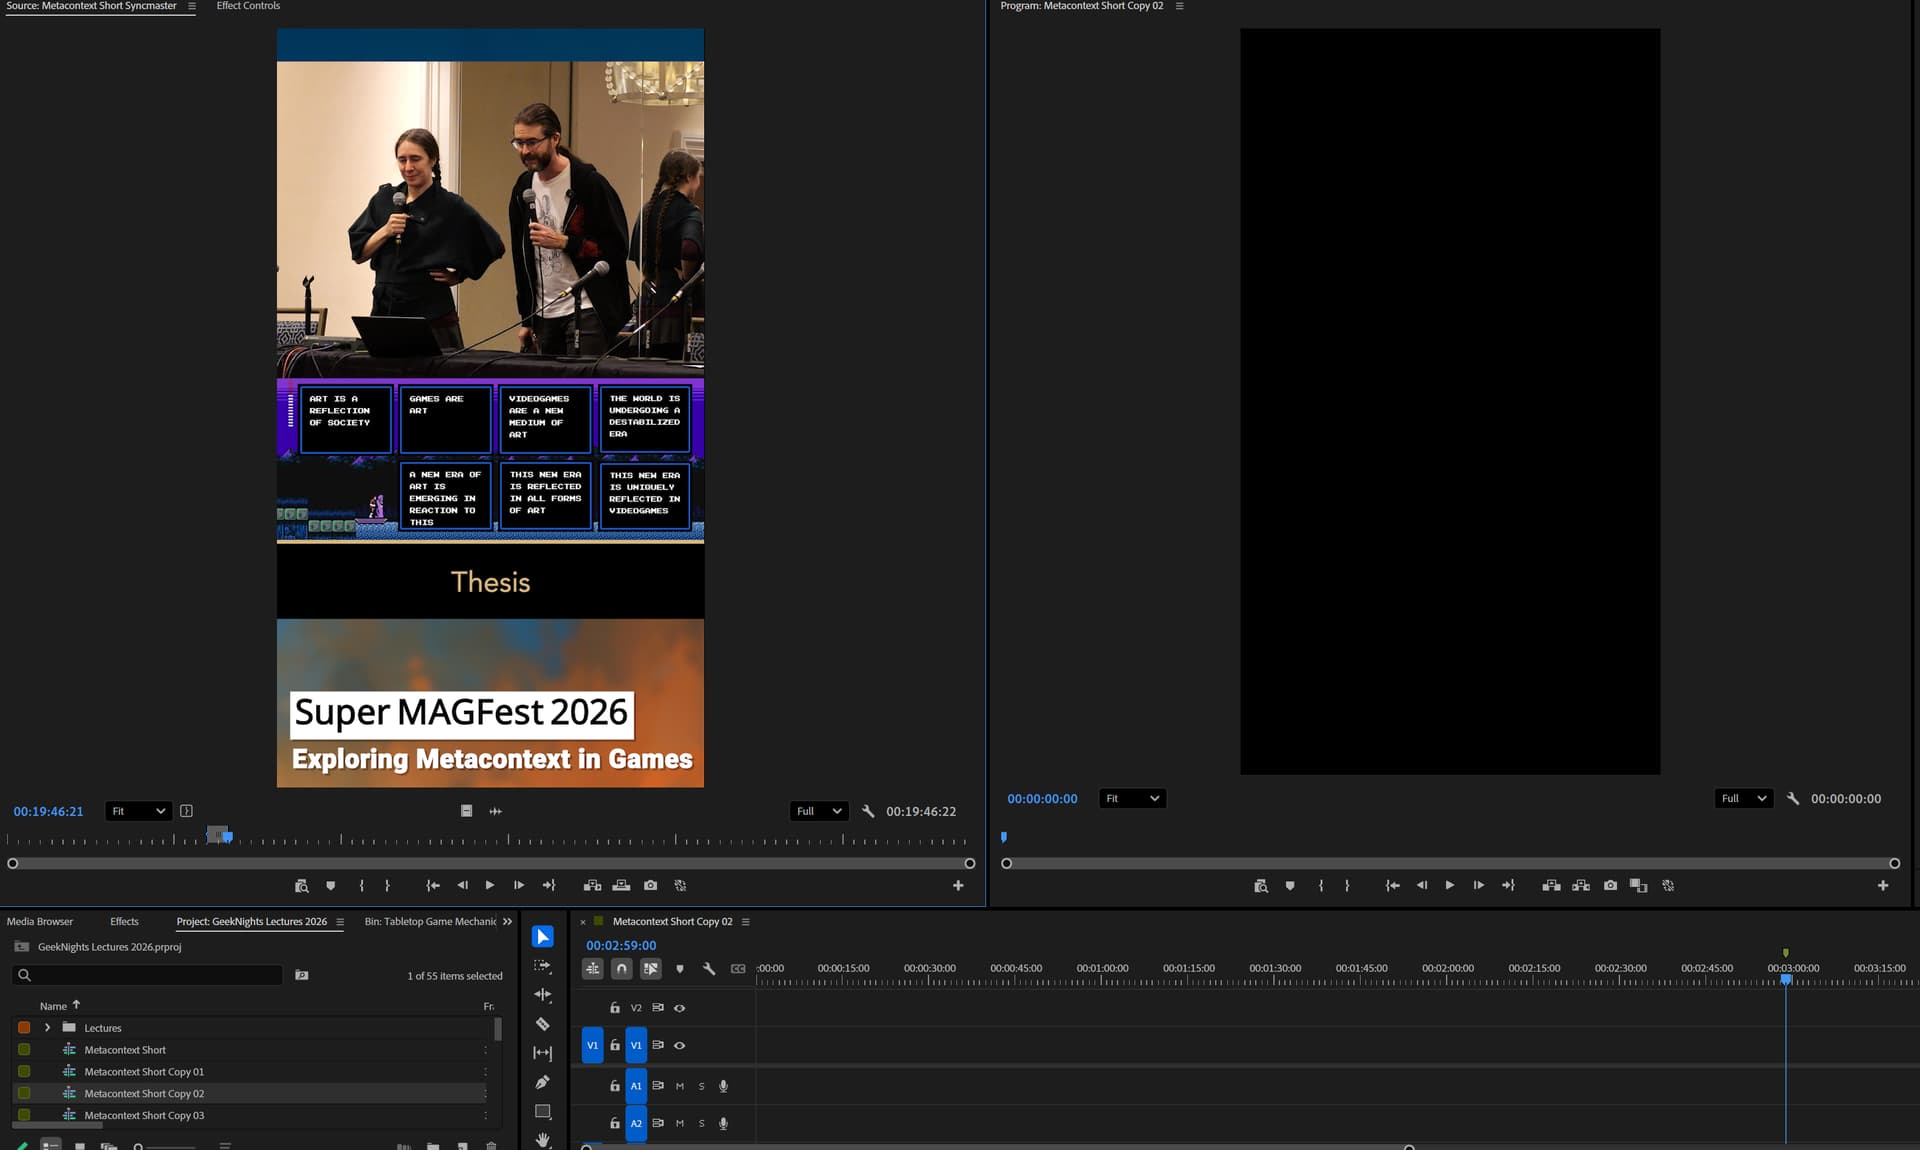
I’m experimenting with dropping markers where there are good segments for shorts (see the green marks at the top of the timeline). They would show up in the Source Monitor for cutting shots out later, saving me a rewatch.
I considered cutting the shorts directly as I watched, but it’s too much to do all at once and it slows me down unacceptably (so far).
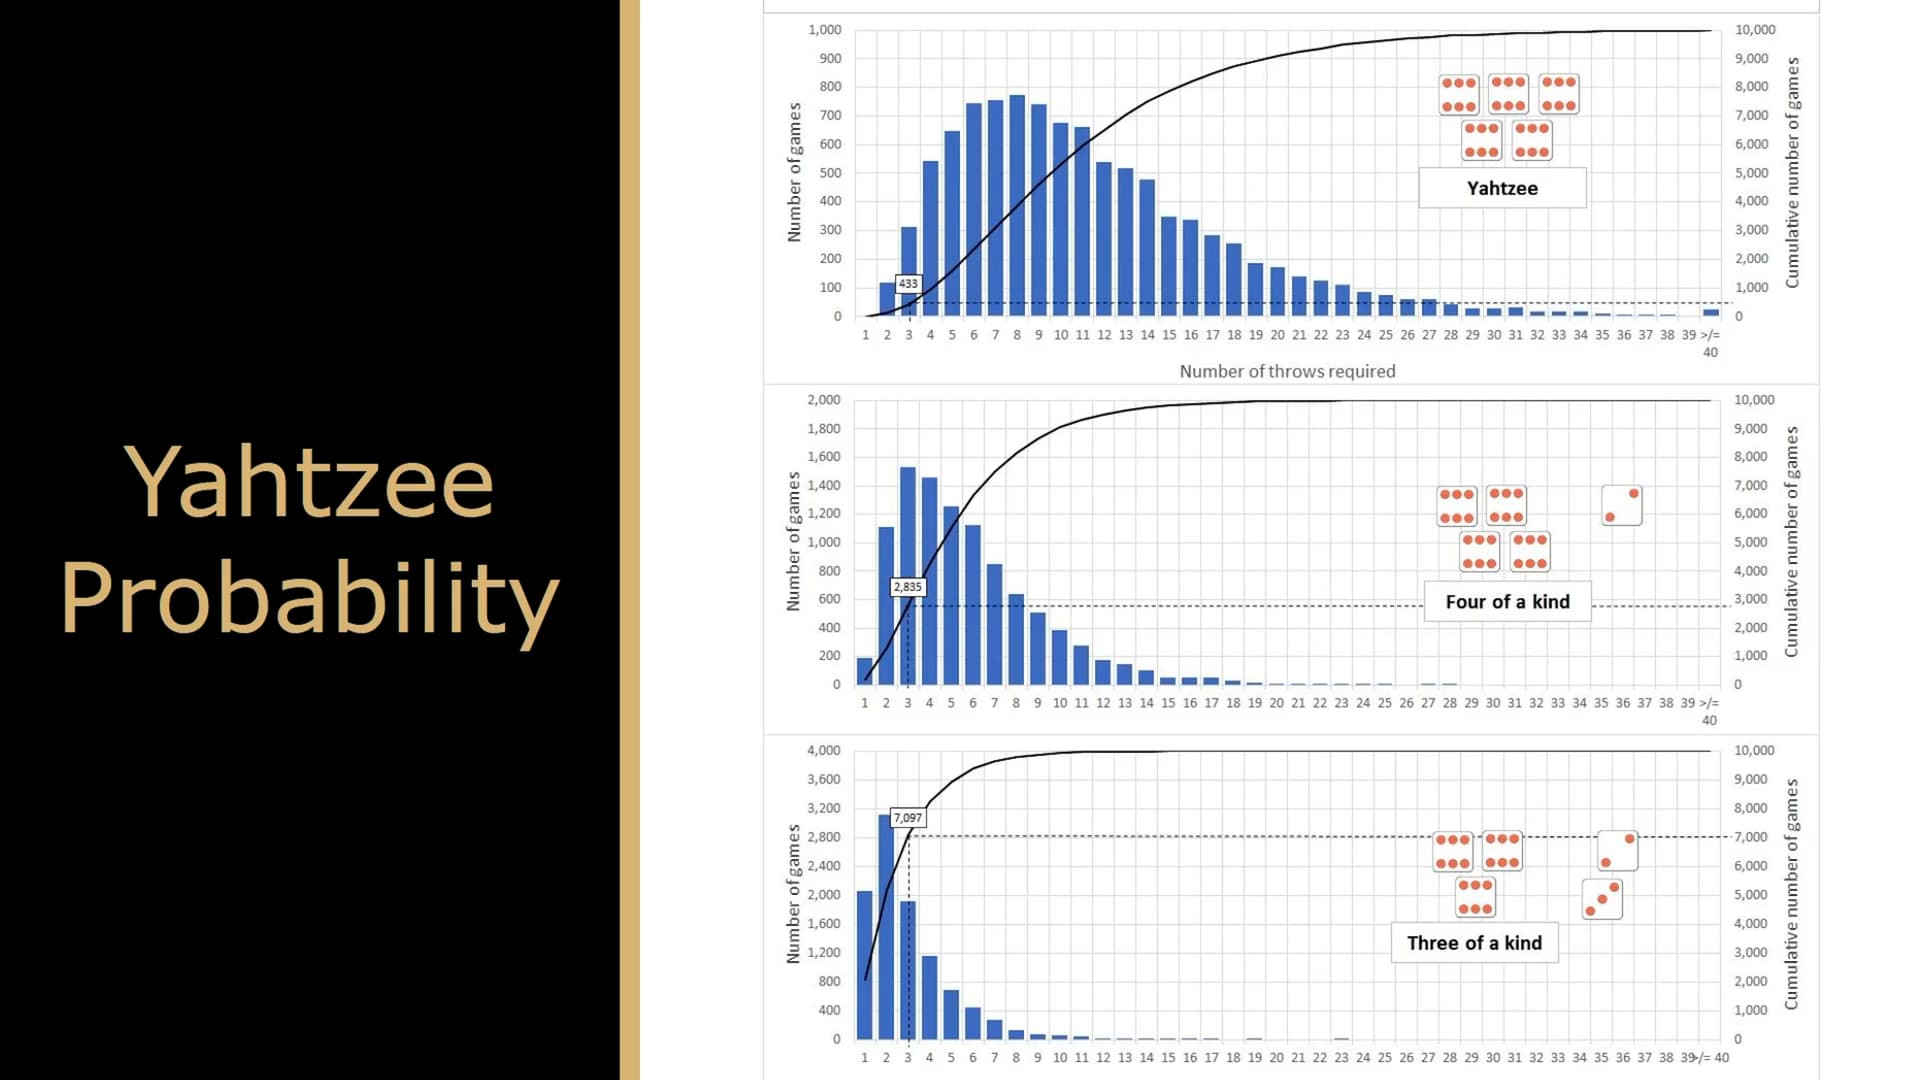
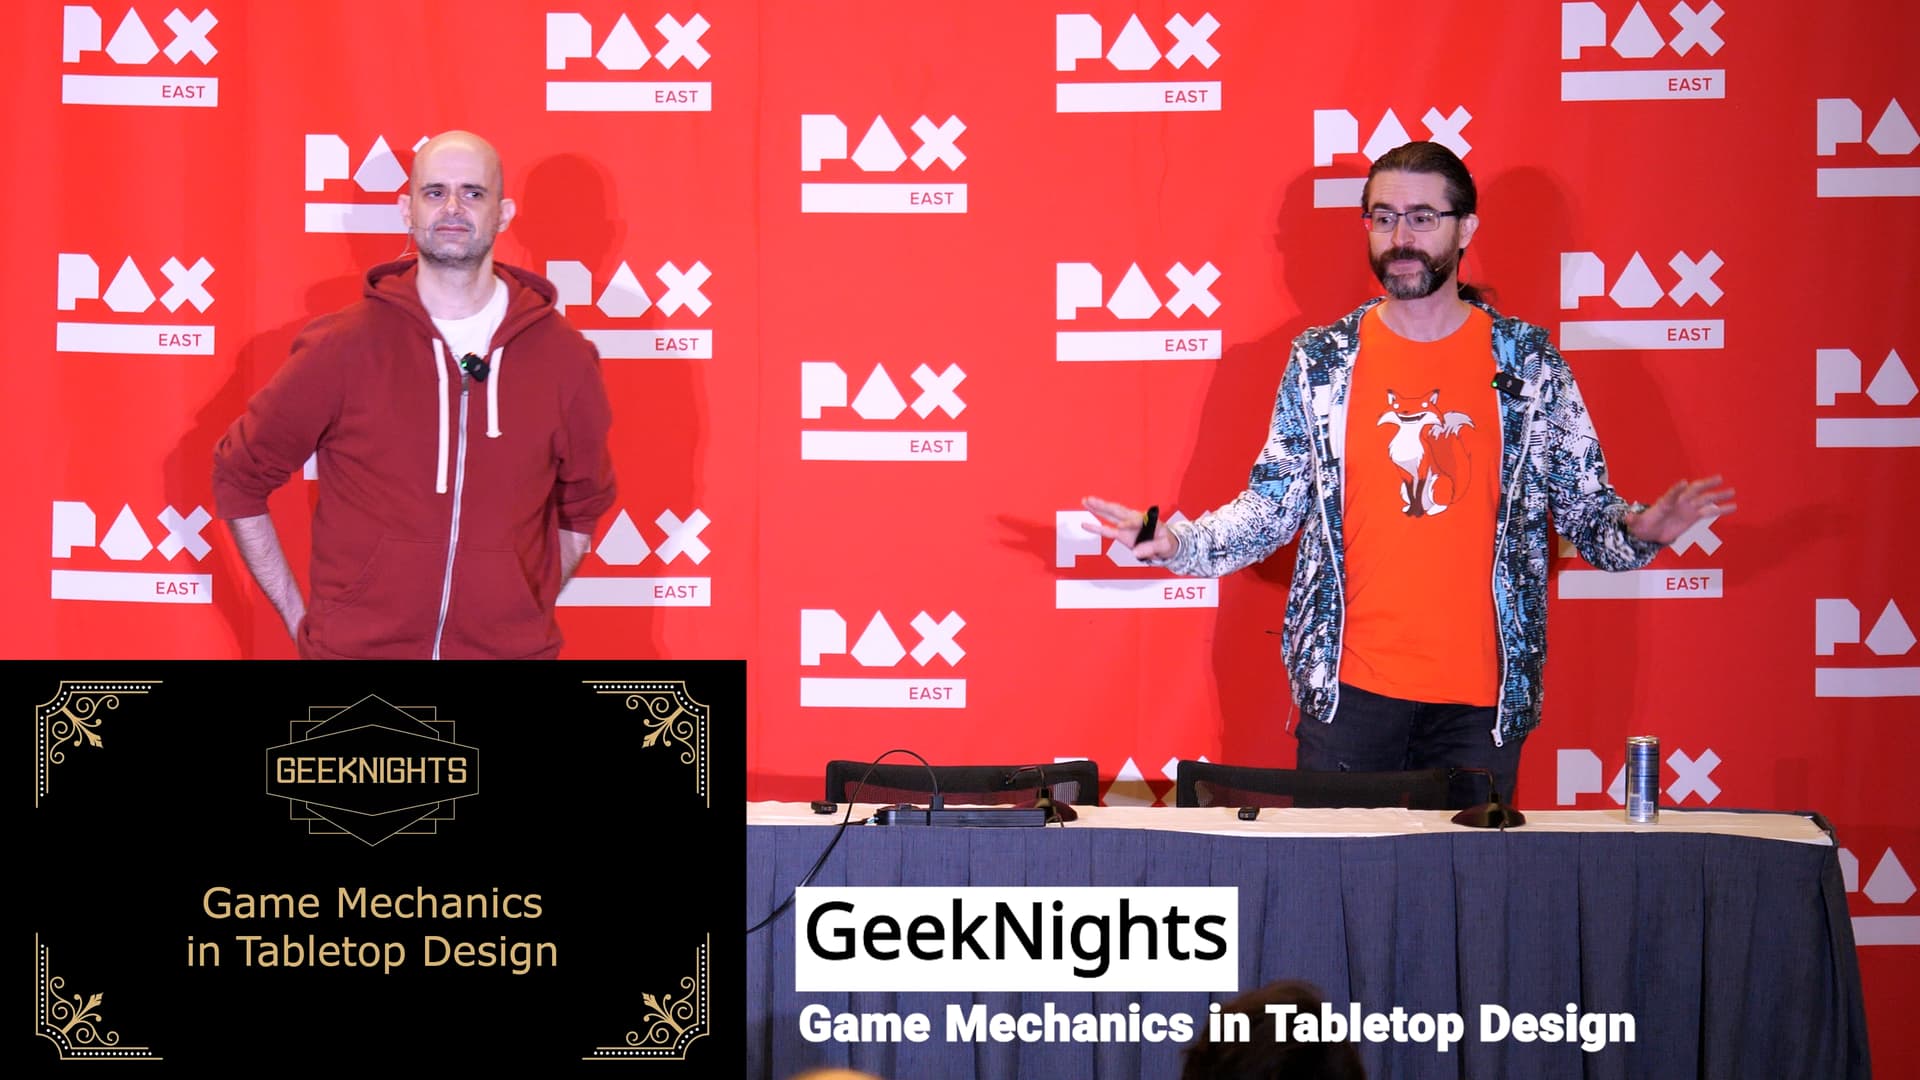
Here’s a quick pass at three simple scenes for the Metacontext talk, which is the first one I’m working on due to the strong response we got at the con.
I tried a few new pipelines for making shorts in bulk. So far the fastest and easiest actually isn’t using subclips. It’s just having ~50 duplicated shell scenes (with a marker for the limit of a short’s length) that I overwrite clips into from the Source Monitor.